Add natural language understanding to your bot - Part 1
November 03, 2020 by Anuraj
Azure BotFramework LUIS
This blog post is about adding natural language understanding to your bot. Language Understanding (LUIS) is a cloud-based API service that helps you to recognize the intent of user input and better direct the conversation flow.
To get started you need to create an Language Understanding service in Azure Portal. Click on the New Resource, Search for Language Understanding, select the first option which will show a screen like the following.
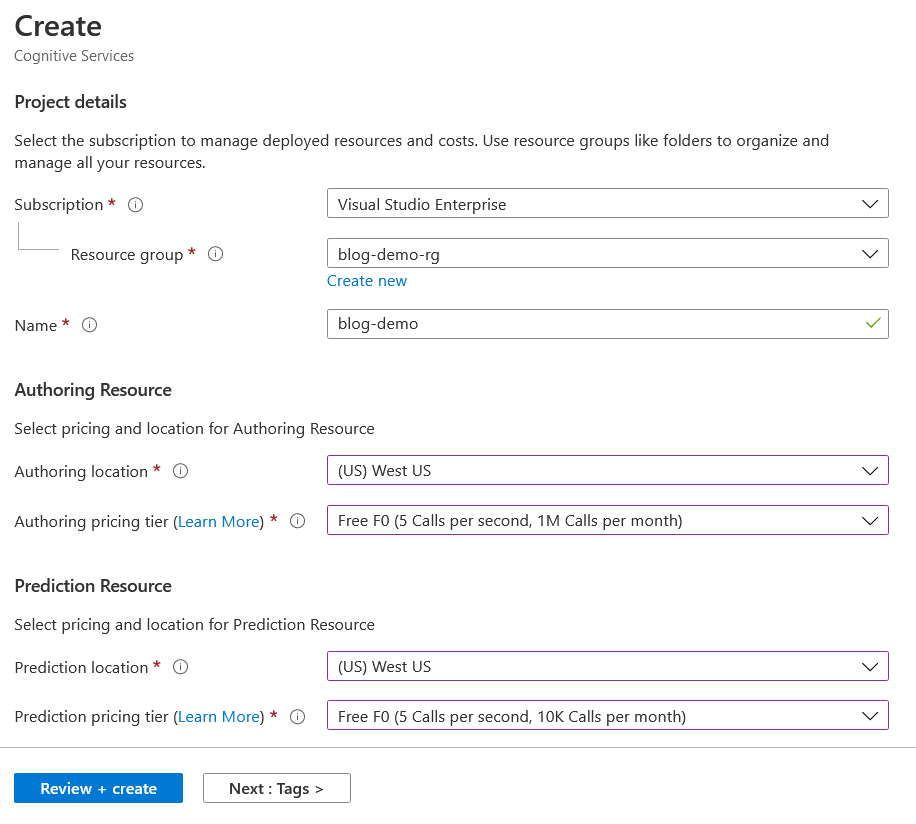
The locations you can choose any supported locations - I choose West US. If you choose any other location, the LUIS portal URL might be different. Once it is completed, open the luis.ai website and sign in with your credentials which you used to sign in to Azure Portal. If you’re using LUIS first time there won’t be any apps. You can click on the New App link.
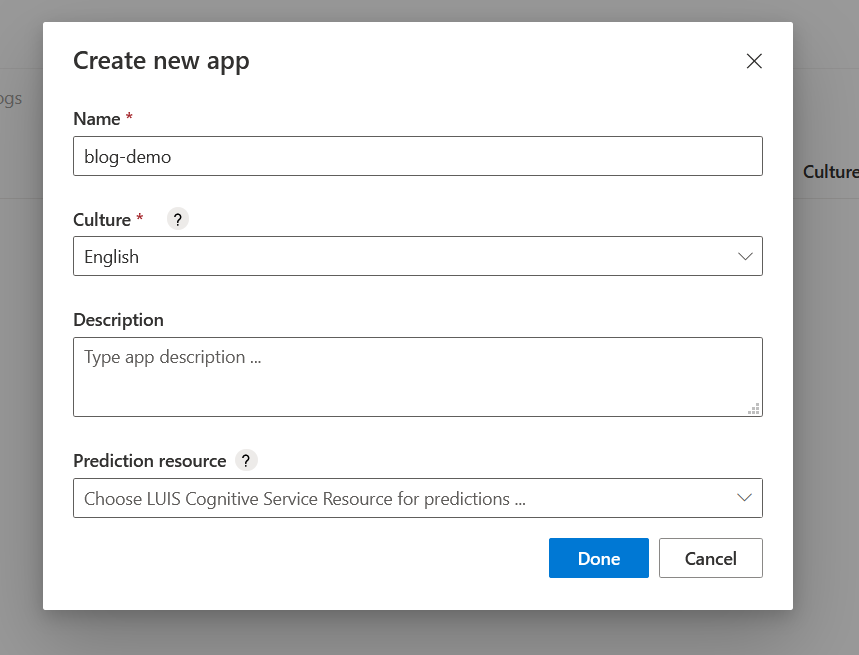
On the dialog, you can provide the name and description. Select the Prediction resource if available which you created in the Azure portal. You can click on Done and create the app. Once it is completes, you will be redirected to the authoring screen. You can create your own intents and entities. But for the demo I am using Prebuilt Domains provided by LUIS. Click on the Prebuilt Domains link in the sidebar, and for the demo I am choosing the Note domain.
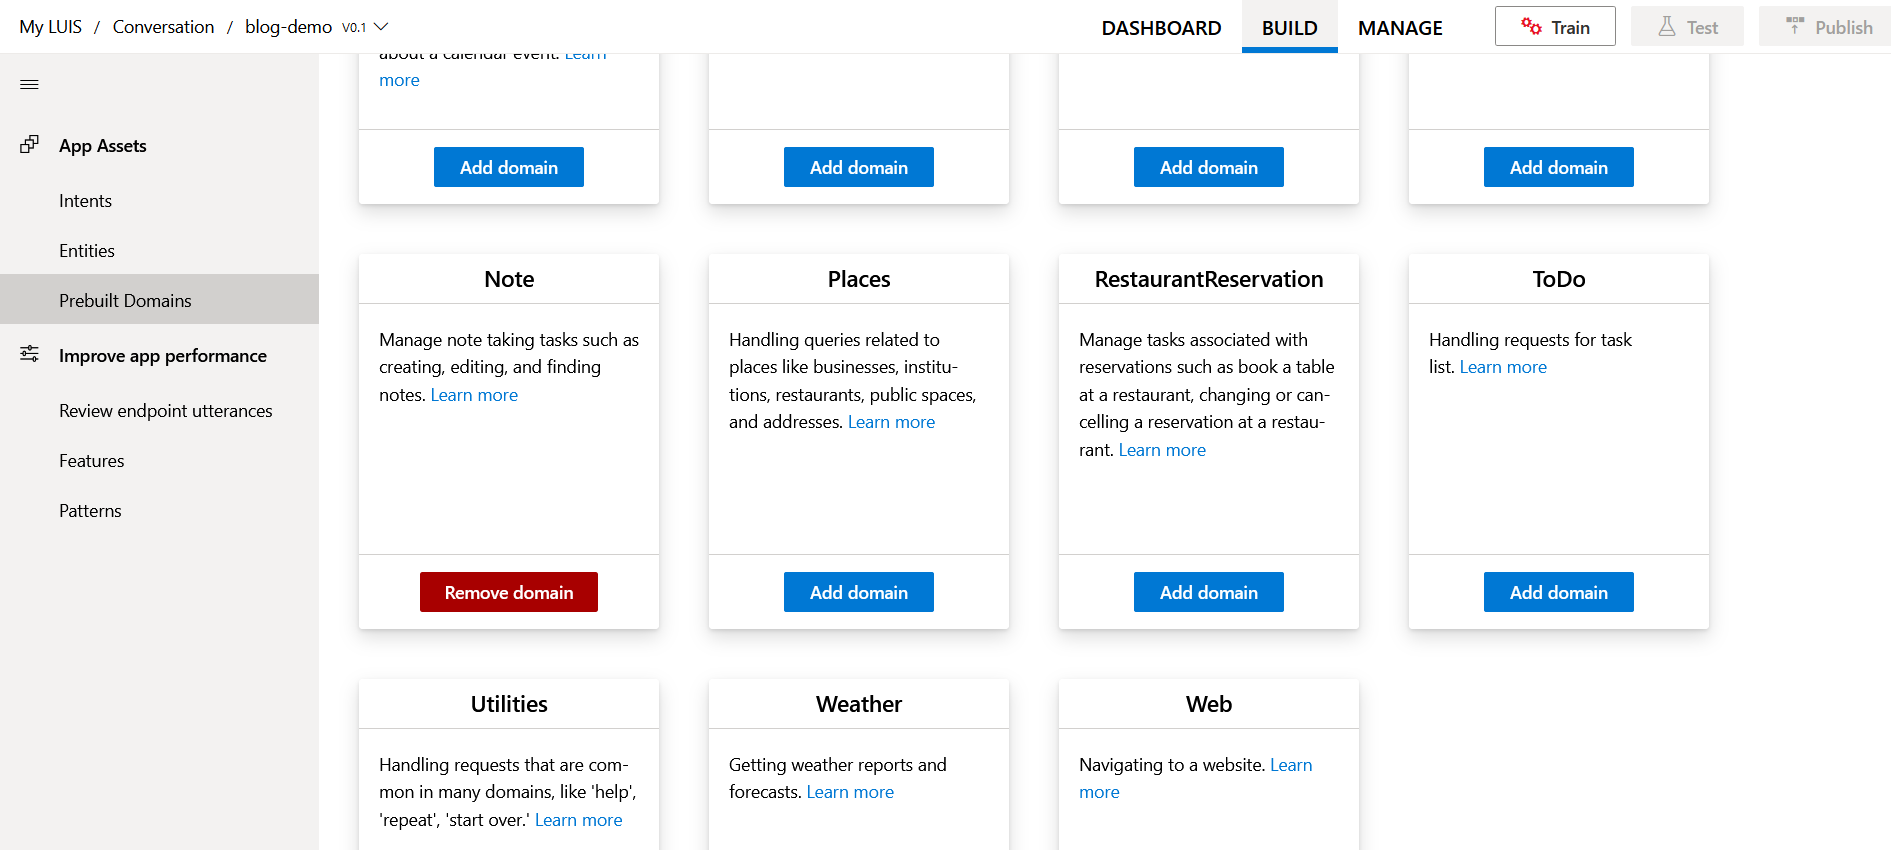
You explore this domain using Intents menu. Once it is done, click on the Train button, it will take few seconds once it is done, you can test it using Test button.
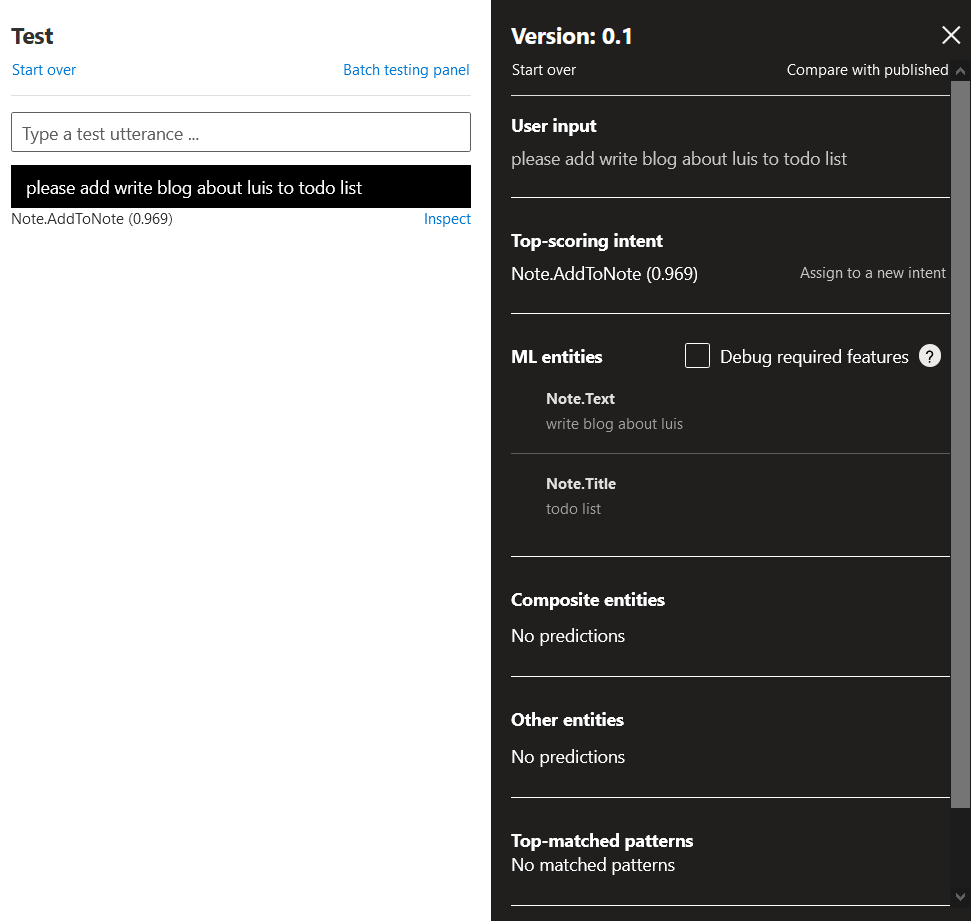
Here is an example - In the Type a test utterance text box I wrote something like this - please add write blog about luis to todo list - LUIS identified my intent as Note.AddToNote with a score of 0.969 which is very good. You can click on Inspect link and explore more about the intent and entities identified. In this case LUIS identified that the Note Text - write blog about luis and todo list as the Note Title which is also pretty good.
Finally we need to publish it. Click on the Publish button, it will show a dialog like this.
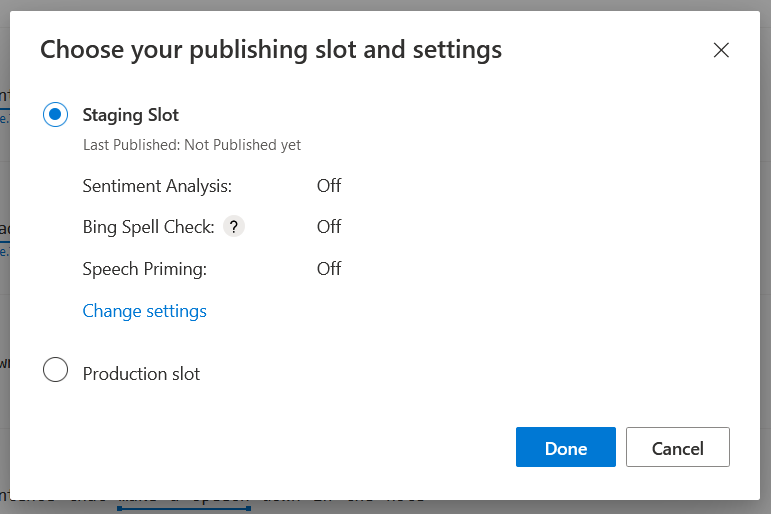
I am not changing anything in this, and I am continue with the default options. Once Publish completes, click on the Access your endpoint Urls link which will redirect to Azure Resources page, in the page click on Add Prediction resource button, which will display a dialog like this.
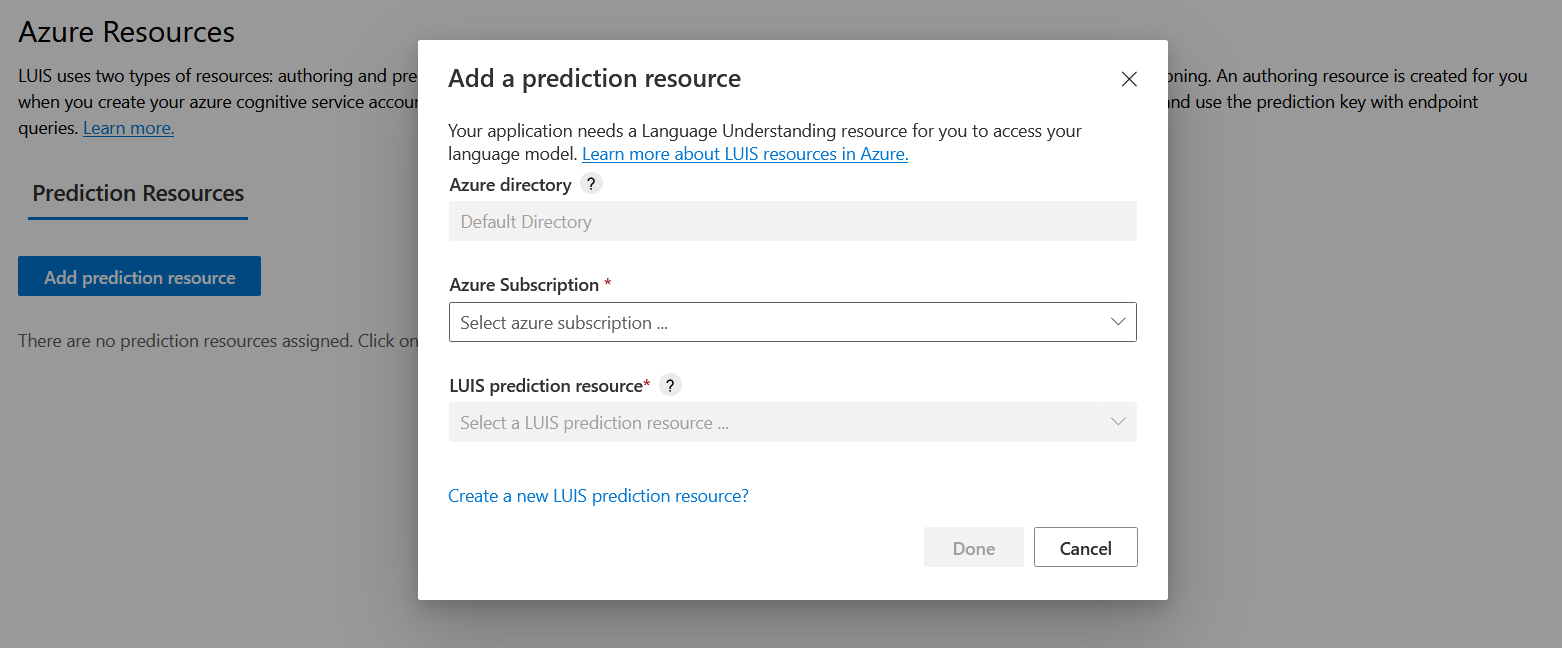
Select your Azure Subscription and LUIS prediction resource which you created in the first step. And click on the Done button, which will add the prediction resource and give you endpoint URLs and keys to access the service online. You can test it using tools like CURL or Postman.
In this post I explained about creating a Language understanding resource in Azure portal, creating, testing and publishing a LUIS resource in LUIS portal. In the next post I will explain how to use this resource in an application.
Here is few resource which will help you to understand LUIS better.
Happy Programming :)
Copyright © 2024 Anuraj. Blog content licensed under the Creative Commons CC BY 2.5 | Unless otherwise stated or granted, code samples licensed under the MIT license. This is a personal blog. The opinions expressed here represent my own and not those of my employer. Powered by Jekyll. Hosted with ❤ by GitHub