CI build for an ASP.NET Core app
November 30, 2017 by Anuraj
ASP.NET Core VSTS CI
This post is about setting up continuous integration (CI) process for an ASP.NET Core app using Visual Studio Team Services (VSTS) or Team Foundation Server (TFS).
For this post, you need to create an ASP.NET Core Web App project and Unit Test Project, so I am creating a solution file first, then adding Web Application and finally add Unit Test project.
dotnet new sln -n dotnetsample
dotnet new mvc -o WebApp
dotnet sln add .\dotnetsample.sln .\WebApp\WebApp.csproj
dotnet new mstest -o WebApp.Tests
dotnet sln add .\dotnetsample.sln .\WebApp.Tests\WebApp.Tests.csproj
In the above code snippet, I am first creating the solution, then creating the web application. Next I am adding the project to the solution file. Once it is done, I am creating the unit test project and adding the same as well to solution. Next you need to add the reference of the Web Application to the unit test project. Navigate to WebApp.Tests folder, then execute the following command - dotnet add reference ..\WebApp\WebApp.csproj.
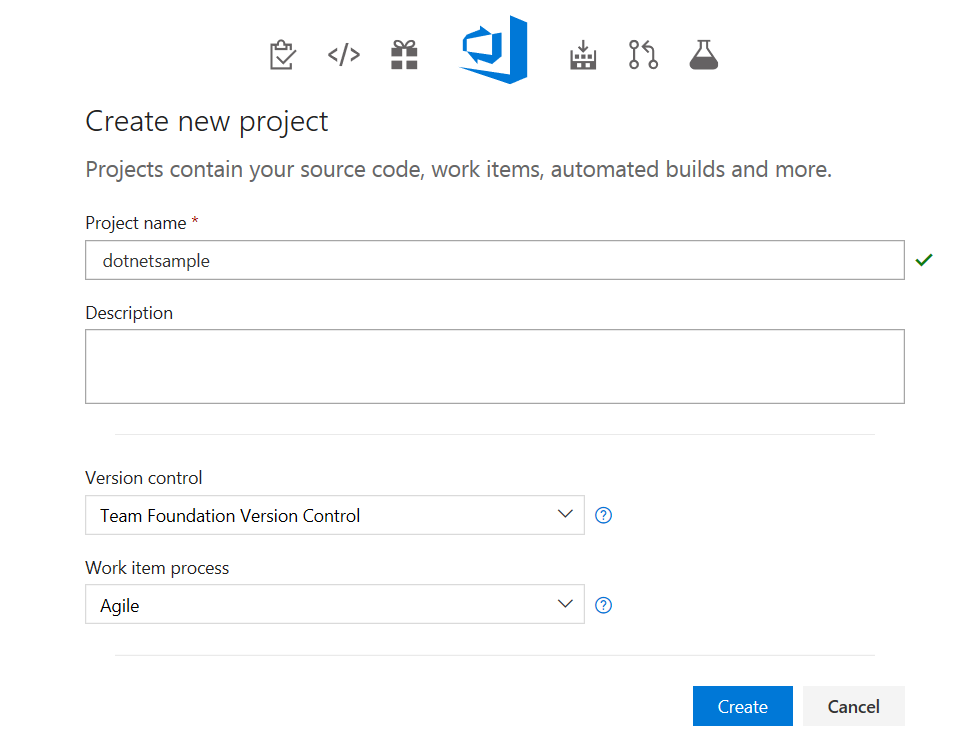
Once you completed the initial setup, you need to add the solution to VSTS. For that first you need to create a project in VSTS.
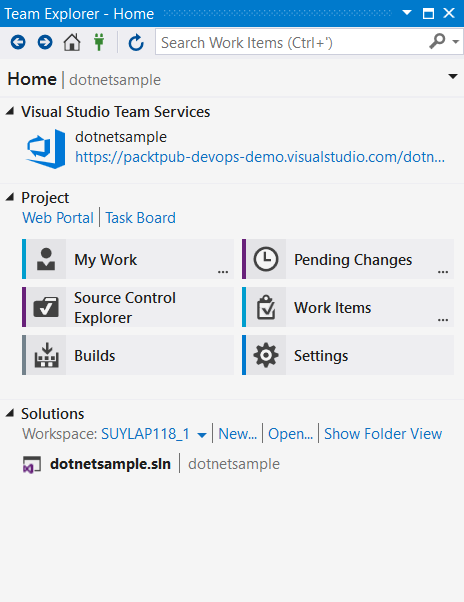
Then connect the project in Visual Studio, add the solution to source control.
For demo purposes I have created a unit test, like this.
[TestClass]
public class UnitTest1
{
[TestMethod]
public void TestMethod1()
{
var homecontroller = new HomeController();
var indexResult = homecontroller.Index();
Assert.IsNotNull(indexResult);
}
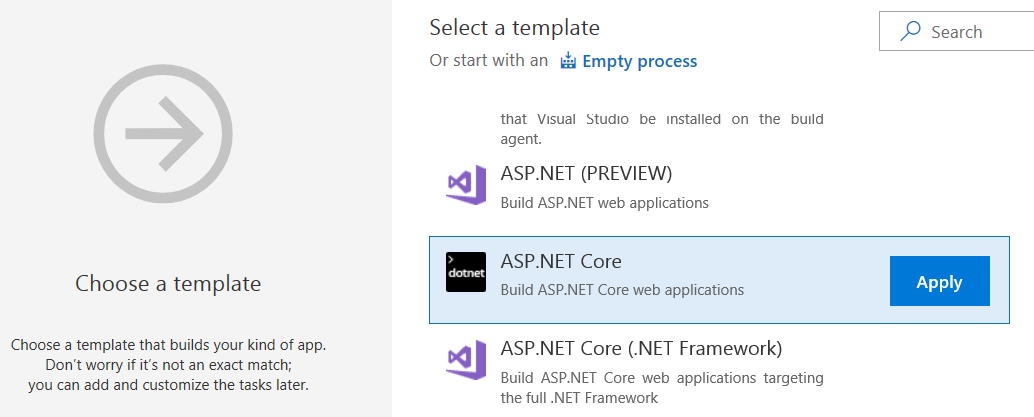
}Now you can setup a build. You can navigate to Build & Release menu and Select Builds. And click on the New definition. From “Select a template” page, select “ASP.NET Core”. And click Apply.
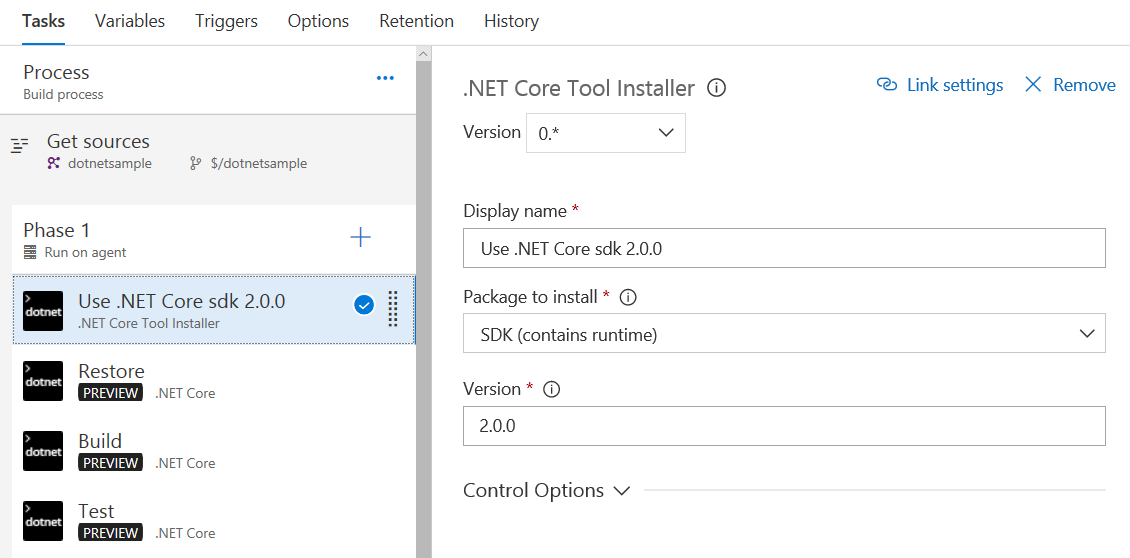
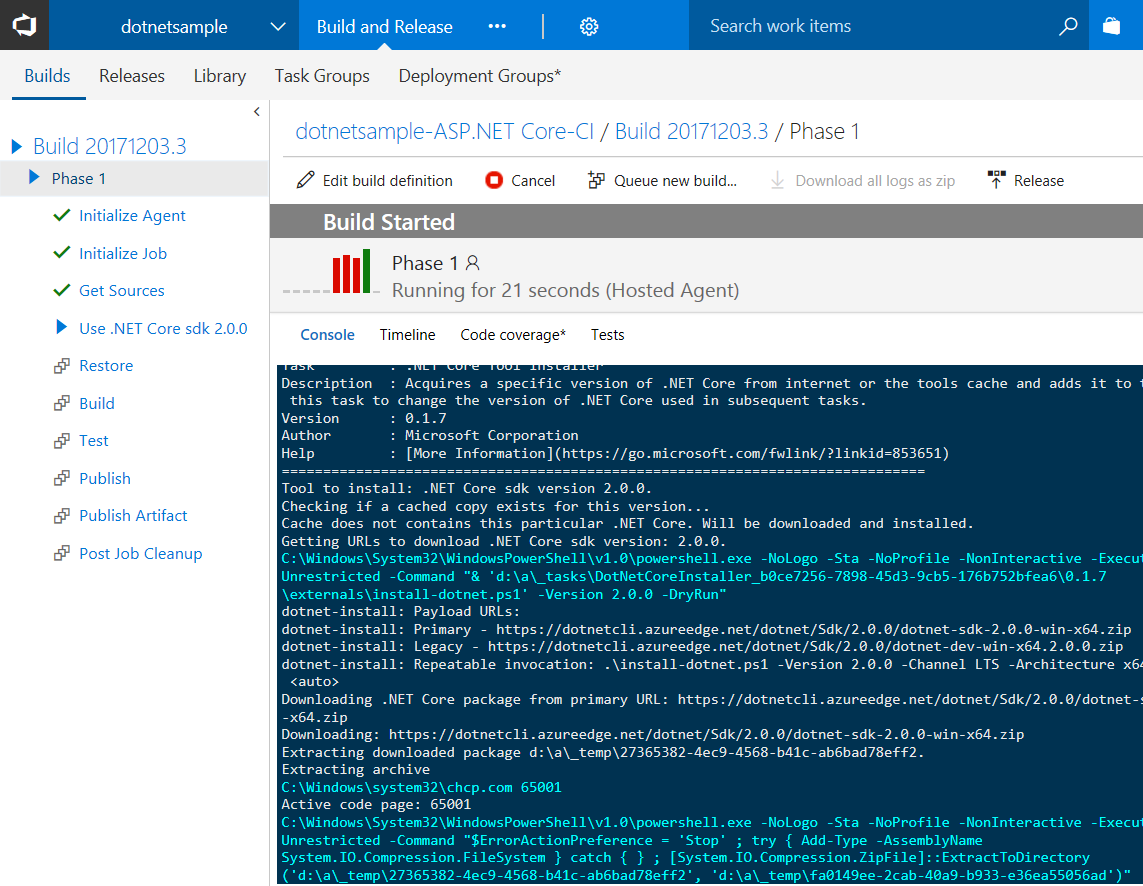
Next you need to set “Agent queue”, select the “Hosted” option. Once you did the changes you need to add .NET Core Tool Install to the build steps. Since from Out of the box, VSTS not supporting ASP.NET Core 2.0 projects. So you need to add the .NET Core Tool Install and configure the Version as 2.0.0. By default the tool will be added to the bottom of the build steps, you need to drag it and move it to the top.
You’re done. Next you can trigger the build by committing something into source code or you can trigger a build using Queue menu, which will display a dialog.
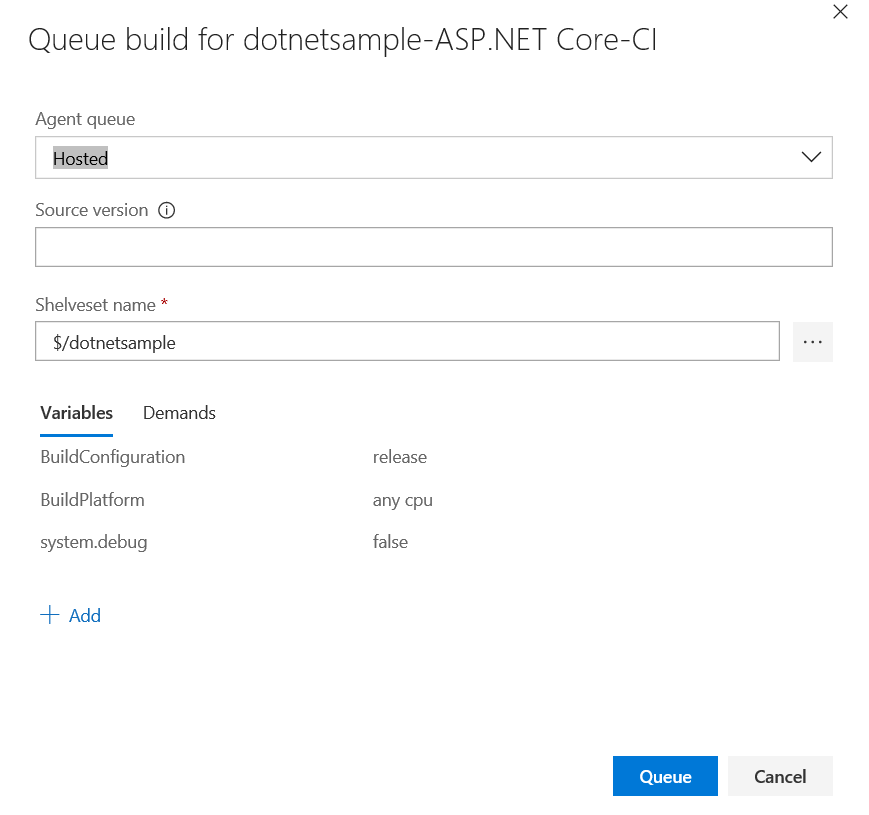
Click Queue to queue to new build, if Agent is available, it will start building or it will wait for an agent and will start the build.
Right now it is getting published to a file share you’re configured as part of Publish Artifacts work item, you can remove it and configure to publish to FTP or if you’re using Azure, you can use the Azure Deploy Task directly as part of the Build process.
Happy Programming :)
Copyright © 2024 Anuraj. Blog content licensed under the Creative Commons CC BY 2.5 | Unless otherwise stated or granted, code samples licensed under the MIT license. This is a personal blog. The opinions expressed here represent my own and not those of my employer. Powered by Jekyll. Hosted with ❤ by GitHub