Configure App Service Authentication for Your Azure Web Apps
November 13, 2018 by Anuraj
ASPNET Core Azure Authentication
This post is about Configure App Service Authentication for Your Azure Web App. Azure Web App comes with an in built app authentication mechanism which helps you to enable authentication / authorization automatically without writing your own code for authentication.
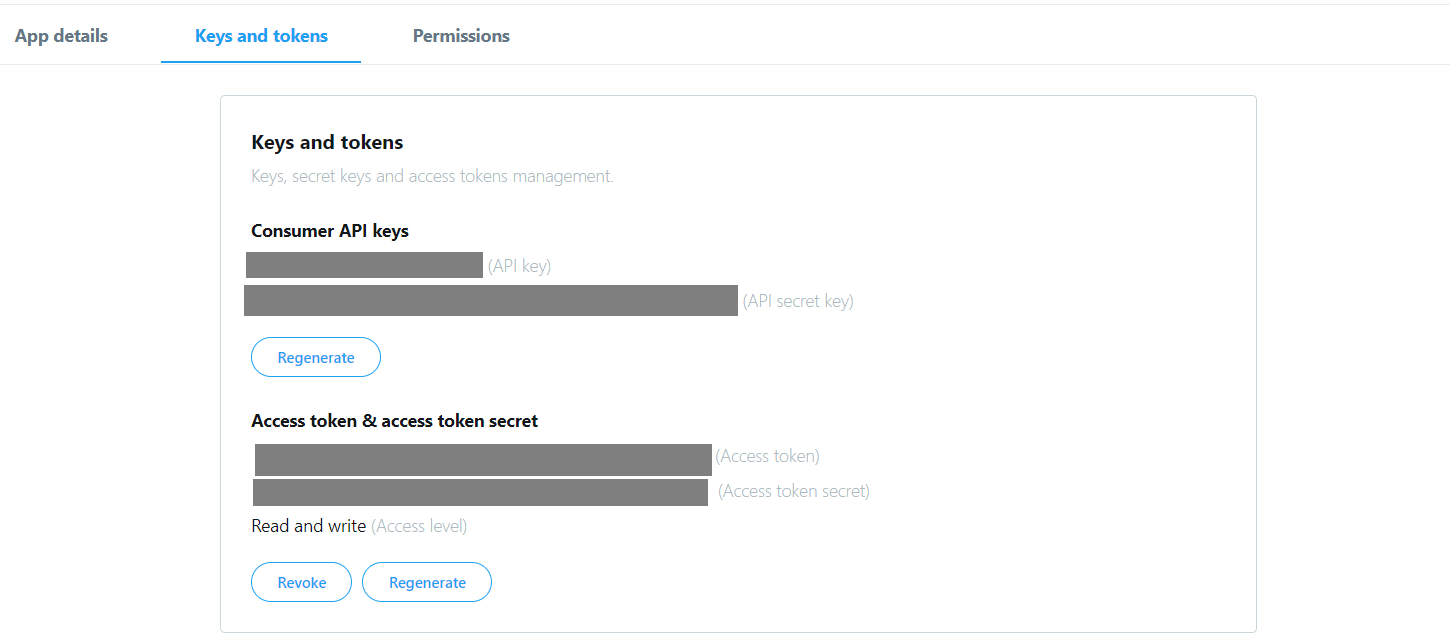
In this post I am using Twitter as the authentication provider. So first you need to create an app in twitter, you can create it from https://developer.twitter.com/, you need to provide the callback url as https://domain/.auth/login/twitter/callback. For example, if your domain name is dotnetthoughts. Then callback URL should be https://dotnetthoughts.azurewebsites.net/.auth/login/twitter/callback. Once it is done, you need to take the API Key and API secret key, which is required to configure the authentication in the Azure Web app. You can get it from Twitter Keys and Tokens tab.
Next you need to open your azure web app, search for Authentication in the blade. By default App Service authentication will be off.
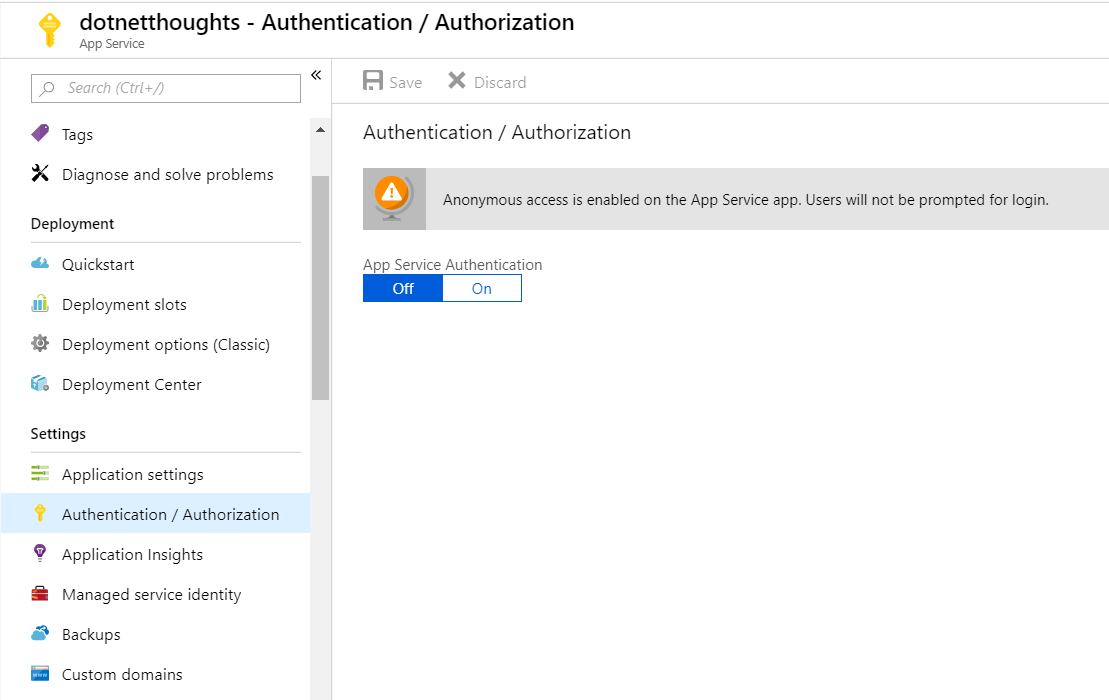
Click on the ON button, which will enable Authentication / Authorization for the selected web app. Once you select that option, it will show more advanced options, like this.
Select the Login with Twitter option from the dropdown. And click on the Twitter from the Authentication providers list, which will open a new blade, where you need to give the API Key and API Secret from twitter.
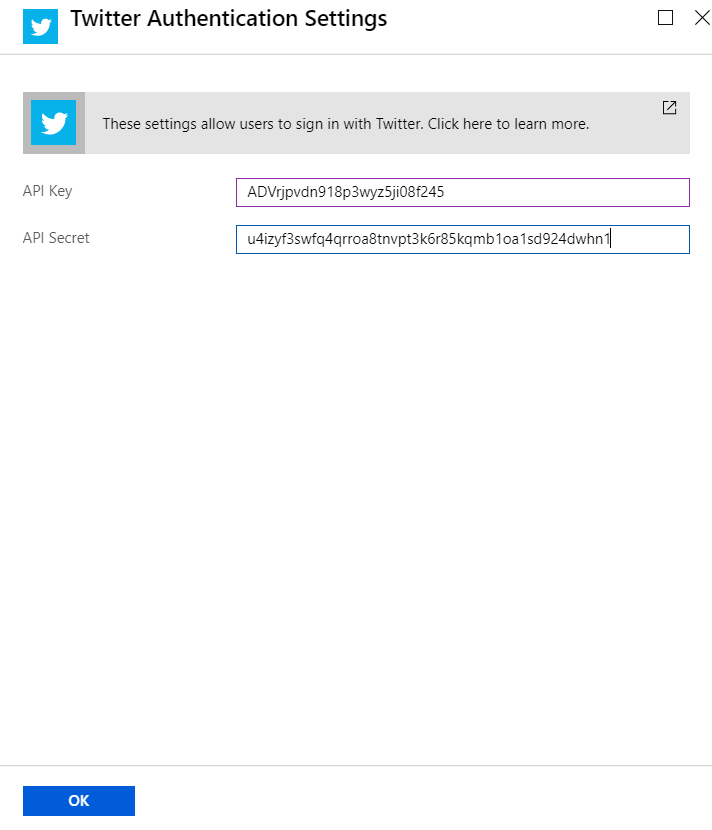
Click on OK, then click on Save. You’re configured the app to authenticate with twitter.
Next create an ASP.NET Core MVC app with no authentication. Add Login / Signup link in the _layout.cshtml and set the URL as /.auth/login/twitter, so clicking on this link will redirect user to twitter login page and once authenticated, user can come back to your app. There is a manual step, once the user authenticated, he / she need to click on a page to return to the website, you can skip this and automatically redirect them back to your app, by providing a URL as query string, like this. - /.auth/login/twitter?post_login_redirect_url=/Home/Index.
Once user redirects back to your app, you can check the header values to verify whether the user is authenticated successfully or not. And if authenticated, you can read different claim values and populate the identity object.
Here is a pseudo code which will read the headers and populate the identity object.
app.Use(async (context, next) =>
{
    if (context.Request.Headers.ContainsKey("X-MS-CLIENT-PRINCIPAL-ID"))
    {
        var azureAppServicePrincipalIdHeader = context.Request.Headers["X-MS-CLIENT-PRINCIPAL-ID"][0];
        var azureAppServicePrincipalNameHeader = context.Request.Headers["X-MS-CLIENT-PRINCIPAL-NAME"][0];
        var cookieContainer = new CookieContainer();
        var handler = new HttpClientHandler()
        {
            CookieContainer = cookieContainer
        };
        var uriString = $"{context.Request.Scheme}://{context.Request.Host}";
        foreach (var cookie in context.Request.Cookies)
        {
            cookieContainer.Add(new Uri(uriString), new Cookie(cookie.Key, cookie.Value));
        }
        var jsonResult = string.Empty;
        using (var client = new HttpClient(handler))
        {
            var res = await client.GetAsync($"{uriString}/.auth/me");
            jsonResult = await res.Content.ReadAsStringAsync();
        }
        var obj = JArray.Parse(jsonResult);
        var user_id = obj[0]["user_id"].Value<string>();
        var claims = new List<Claim>();
        foreach (var claim in obj[0]["user_claims"])
        {
            claims.Add(new Claim(claim["typ"].ToString(), claim["val"].ToString()));
        }
        var identity = new GenericIdentity(azureAppServicePrincipalNameHeader);
        identity.AddClaims(claims);
        context.User = new GenericPrincipal(identity, null);
    };

    await next.Invoke();
});
This code is required only for ASP.NET Core apps, if you’re using ASP.NET 4.x Framework app, the identity object will be populating automatically without any code. Once it is done, you can access User.Identity.IsAuthenticated to verify whether the user is authenticated or not, and can access different claim parameters. The Token Store is a repository of tokens that are associated with the users of your web apps, APIs, or native mobile apps. When you enable authentication with any provider, this token store is immediately available to your app. This will help you to post content to the social media behalf of the authorised user.
I couldn’t find any middleware from ASP.NET team which handles this authentication mechanism. But it will work seemlessly if you’re using .NET Framework web apps.
Happy Programming :)
Copyright © 2024 Anuraj. Blog content licensed under the Creative Commons CC BY 2.5 | Unless otherwise stated or granted, code samples licensed under the MIT license. This is a personal blog. The opinions expressed here represent my own and not those of my employer. Powered by Jekyll. Hosted with ❤ by GitHub