Continuous database deployment with GitHub Actions
August 19, 2021 by Anuraj
Azure DevOps EFCore GitHub Actions
This post is about enabling continuous database deployment with GitHub Actions for your ASP.NET Core applications with the help of EF Core migrations. I am following the EF Core migration script approach in this as well. But compared to Azure DevOps, I found GitHub actions is more fast. I am deploying an ASP.NET Core 5.0 application to Azure App Service and along with it I am deploying the database changes as well.
While creating App Service, I configured Continuous deployment and I selected my GitHub repository. This will help you to initialize the GitHub repo with a Azure App Service deployment Action workflow file.
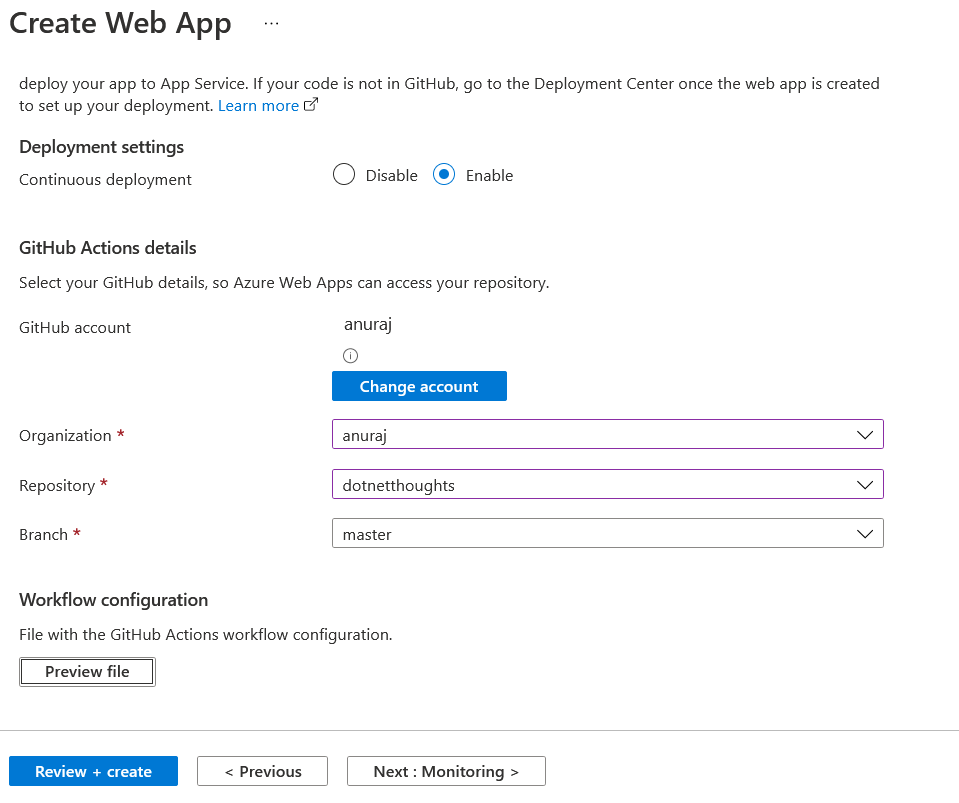
You can preview the Github Action file, by clicking on Preview button. Next you can continue creating your app service.
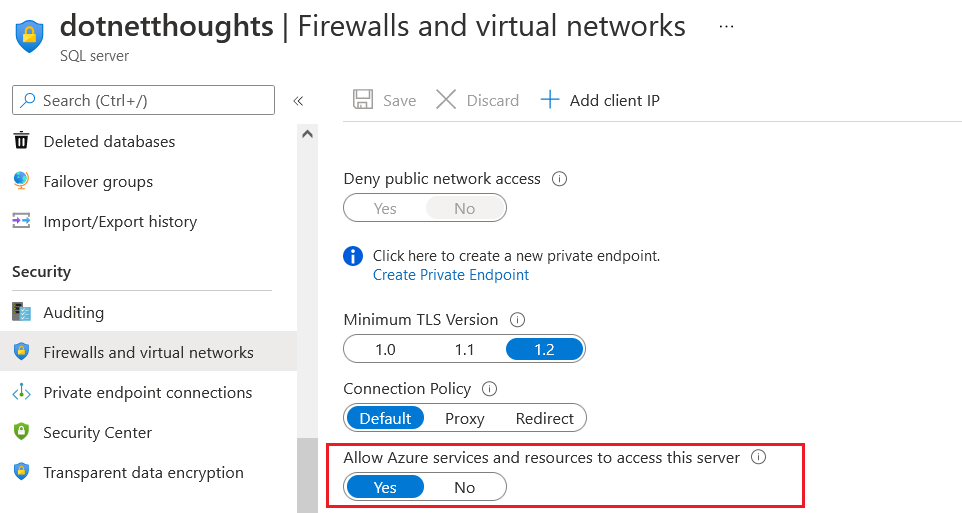
Next in the SQL Server, select the Firewalls and virtual networks option and select Allow Azure services and resources to access this server and set it to True.
Now you’re ready with your configuration changes, let go to your Github repository and select the yaml file under .github directory. By default you will be able to see a file with following content.
name: Azure App Service - dotnetthoughts(Production), Build and deploy DotnetCore app

on:
  push:
    branches:
      - main

jobs:
  build-and-deploy:
    runs-on: windows-latest

    steps:
    # checkout the repo
    - name: 'Checkout Github Action'
      uses: actions/checkout@master

    - name: Set up .NET Core
      uses: actions/setup-dotnet@v1
      with:
        dotnet-version: '5.0.x'

    - name: Build with dotnet
      run: dotnet build --configuration Release

    - name: dotnet publish
      run: dotnet publish -c Release -o ${{env.DOTNET_ROOT}}/myapp

    - name: Run Azure webapp deploy action using publish profile credentials
      uses: azure/webapps-deploy@v2
      with:
        app-name: dotnetthoughts
        slot-name: Production
        publish-profile: ${{ secrets.AZUREAPPSERVICE_PUBLISHPROFILE }}
        package: ${{env.DOTNET_ROOT}}/myapp
For running EF Commands you need to first install EF Tools. Instead of installing the EF Tools globally, I am installing it as a local tool. To do that I am adding a run command which install the dotnet ef tool.
- name: Install EF Tool
  run: |
      dotnet new tool-manifest
      dotnet tool install dotnet-ef
Next I am generating the SQL Script using dotnet ef command, I am adding a run command again with the following code.
- name: Generate scripts
    run: dotnet ef migrations script --output ${{env.DOTNET_ROOT}}/sql/sql-script.sql --idempotent --context ApplicationDbContext
Since you’re already building the app, you can include --no-build parameter, so that you can save the build time.
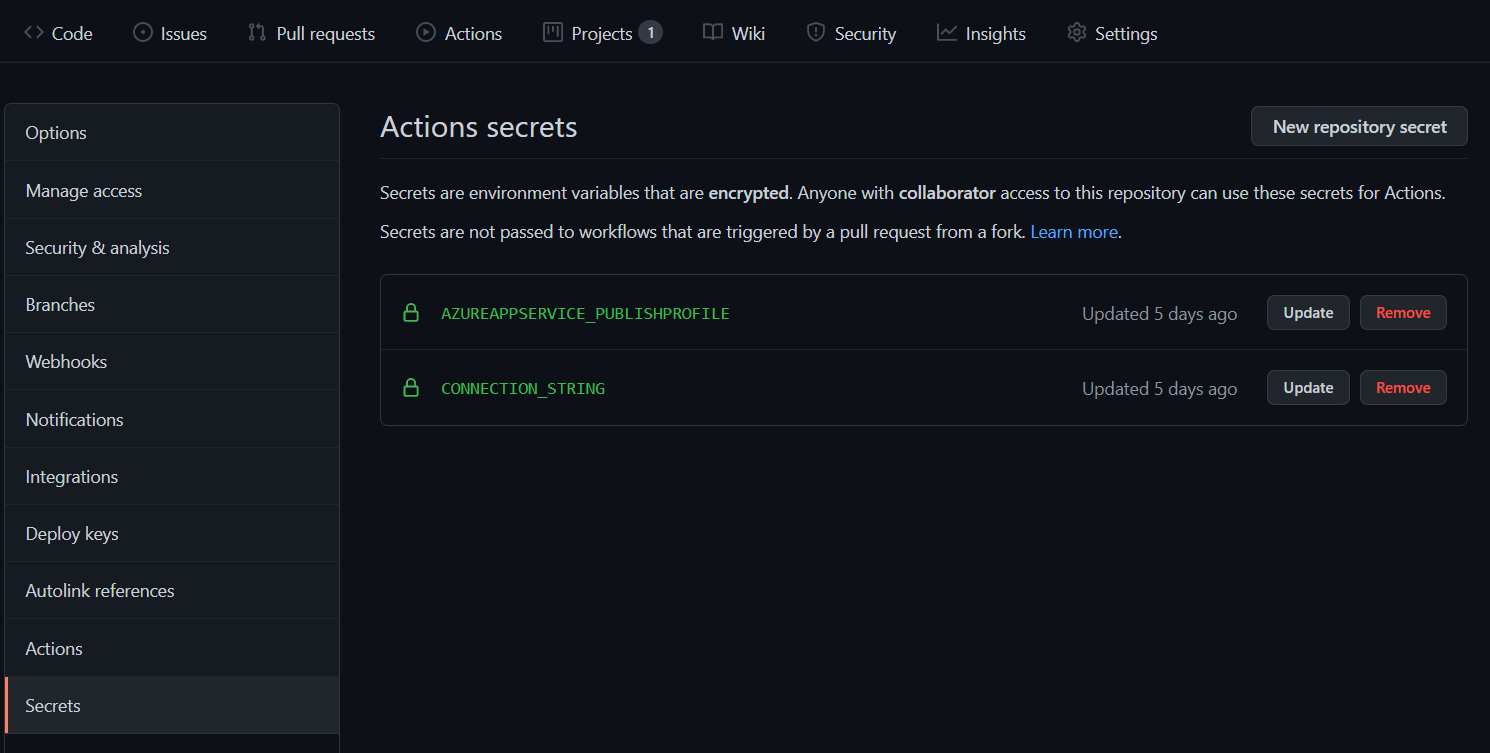
Next I need to add an action to deploy the generated script to Azure SQL DB. Before that I am creating a GitHub secret for the SQL server connection string. You can do it from Settings > Secrets, and add a new repository secret.
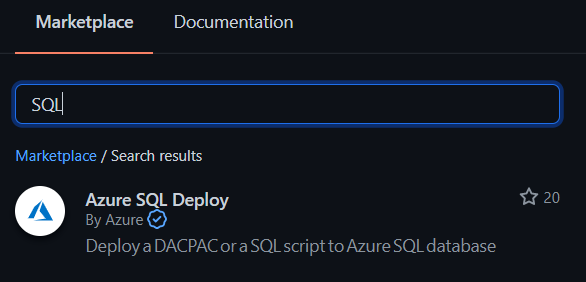
Next in the marketplace, search for SQL. And select the Azure SQL Deploy action.
In the configuration, you need provide the following details.
- name: Azure SQL Deploy
  uses: Azure/sql-action@v1
  with:
    # Name of the Azure SQL Server name, like Fabrikam.database.windows.net.
    server-name:
    # The connection string, including authentication information, for the Azure SQL Server database.
    connection-string:
    # Path to DACPAC file to deploy
    dacpac-package: # optional
    # Path to SQL script file to deploy
    sql-file: # optional
    # In case DACPAC option is selected, additional SqlPackage.exe arguments that will be applied. When SQL query option is selected, additional sqlcmd.exe arguments will be applied.
    arguments: # optional
Modify it like this.
- name: Azure SQL Deploy
uses: Azure/sql-action@v1
with:
# Name of the Azure SQL Server name, like dotnetthoughts.database.windows.net.
server-name: tcp:dotnetthoughts.database.windows.net
# The connection string, including authentication information, for the Azure SQL Server database.
connection-string: ${{ secrets.CONNECTION_STRING }}
# Path to SQL script file to deploy
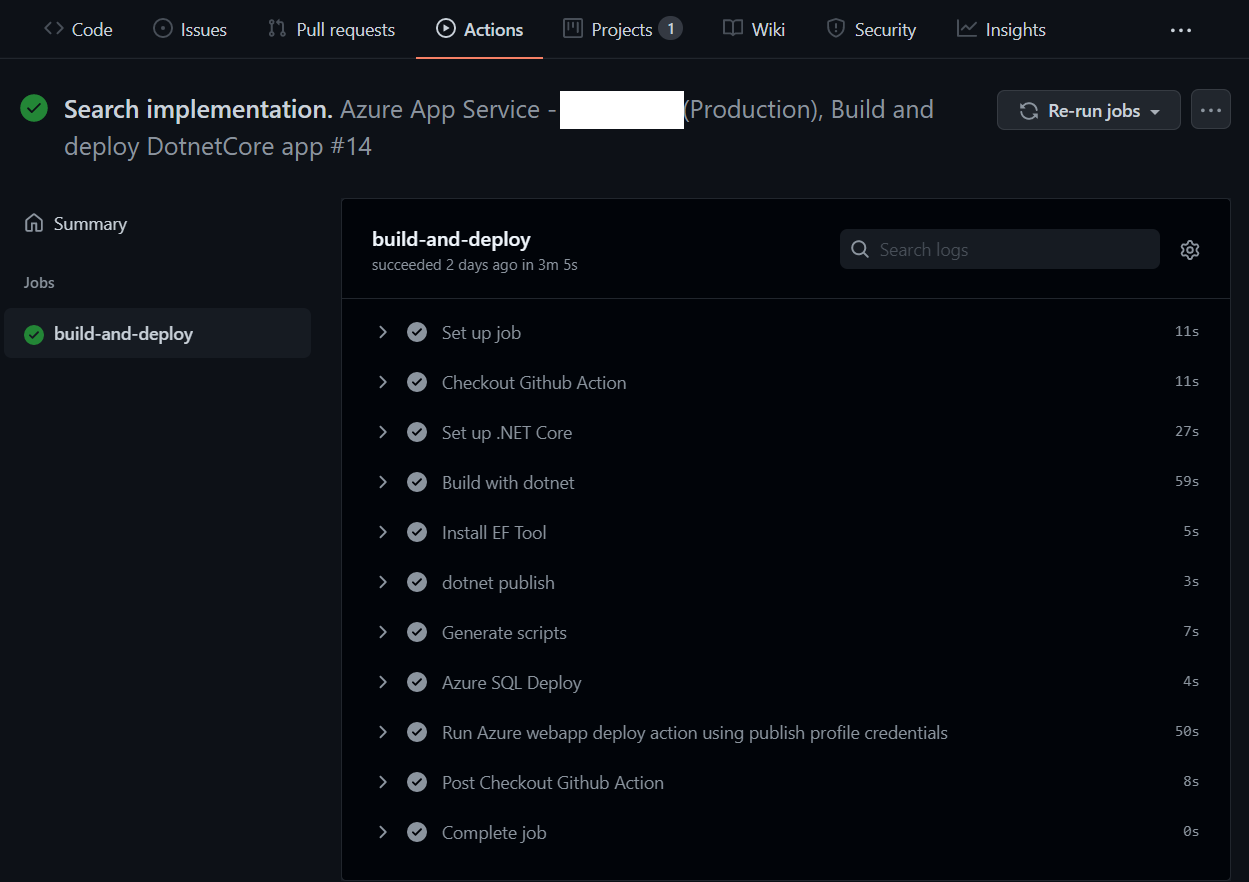
sql-file: ${{env.DOTNET_ROOT}}/sql/sql-script.sqlNow the configuration is completed for Deploy Database with GitHub Actions. Next you can commit some changes which will deploy to the SQL Server.
Here is the complete script.
name: Azure App Service - dotnetthoughts(Production), Build and deploy DotnetCore app

on:
  push:
    branches:
      - main

jobs:
  build-and-deploy:
    runs-on: windows-latest

    steps:
    # checkout the repo
    - name: 'Checkout Github Action'
      uses: actions/checkout@master


    - name: Set up .NET Core
      uses: actions/setup-dotnet@v1
      with:
        dotnet-version: '5.0.x'

    - name: Build with dotnet
      run: dotnet build --configuration Release

    - name: Install EF Tool
      run: |
          dotnet new tool-manifest
          dotnet tool install dotnet-ef

    - name: dotnet publish
      run: dotnet publish -c Release -o ${{env.DOTNET_ROOT}}/myapp

    - name: Generate scripts
      run: dotnet ef migrations script --output ${{env.DOTNET_ROOT}}/sql/sql-script.sql --idempotent --context ApplicationDbContext

    - name: Azure SQL Deploy
      uses: Azure/sql-action@v1
      with:
        # Name of the Azure SQL Server name, like Fabrikam.database.windows.net.
        server-name: tcp:dotnetthoughts.database.windows.net
        # The connection string, including authentication information, for the Azure SQL Server database.
        connection-string: ${{ secrets.CONNECTION_STRING }}
        # Path to SQL script file to deploy
        sql-file: ${{env.DOTNET_ROOT}}/sql/sql-script.sql

    - name: Run Azure webapp deploy action using publish profile credentials
      uses: azure/webapps-deploy@v2
      with:
        app-name: dotnetthoughts
        slot-name: Production
        publish-profile: ${{ secrets.AZUREAPPSERVICE_PUBLISHPROFILE }}
        package: ${{env.DOTNET_ROOT}}/myapp
And that is it! Now you can relax and commit your code and migrations as the deployment process is carried out automatically every time you push your code to your repository. Continuous Delivery is a great tool on its own, but be sure to use it together Continuous Integration to unlock its full potential.
Happy Programming :)
Copyright © 2024 Anuraj. Blog content licensed under the Creative Commons CC BY 2.5 | Unless otherwise stated or granted, code samples licensed under the MIT license. This is a personal blog. The opinions expressed here represent my own and not those of my employer. Powered by Jekyll. Hosted with ❤ by GitHub