Deploy a website with Azure virtual machines - Configuring SSL certificates
July 23, 2023 by Anuraj
Azure IAAS Virtual Machine AspNetCore
This post is about how to deploy an ASP.NET Core web application in Azure Virtual machines. This is part of series where we will be discussing about setting up web server, configuring custom domains, creating and installing SSL certificate in web server and finally configuring CI / CD pipelines to deploy our application to Azure VM from Azure DevOps. In this blog post we will be deploying the SSL certificate to the web server.
For deploying the SSL certificate we will be using Azure Key Vault.
First we need to create an Azure Key Vault. We can create key vault using the following command -
az keyvault create --name "dotnetthought" --resource-group "webserver-us" --location "Central US" --enabled-for-deployment --enable-rbac-authorization true. The--enabled-for-deploymenthelps us to configure SSL certificate for Azure Virtual Machine.Next we need to import the SSL certificate to Azure Key Vault using Azure CLI with the following command -
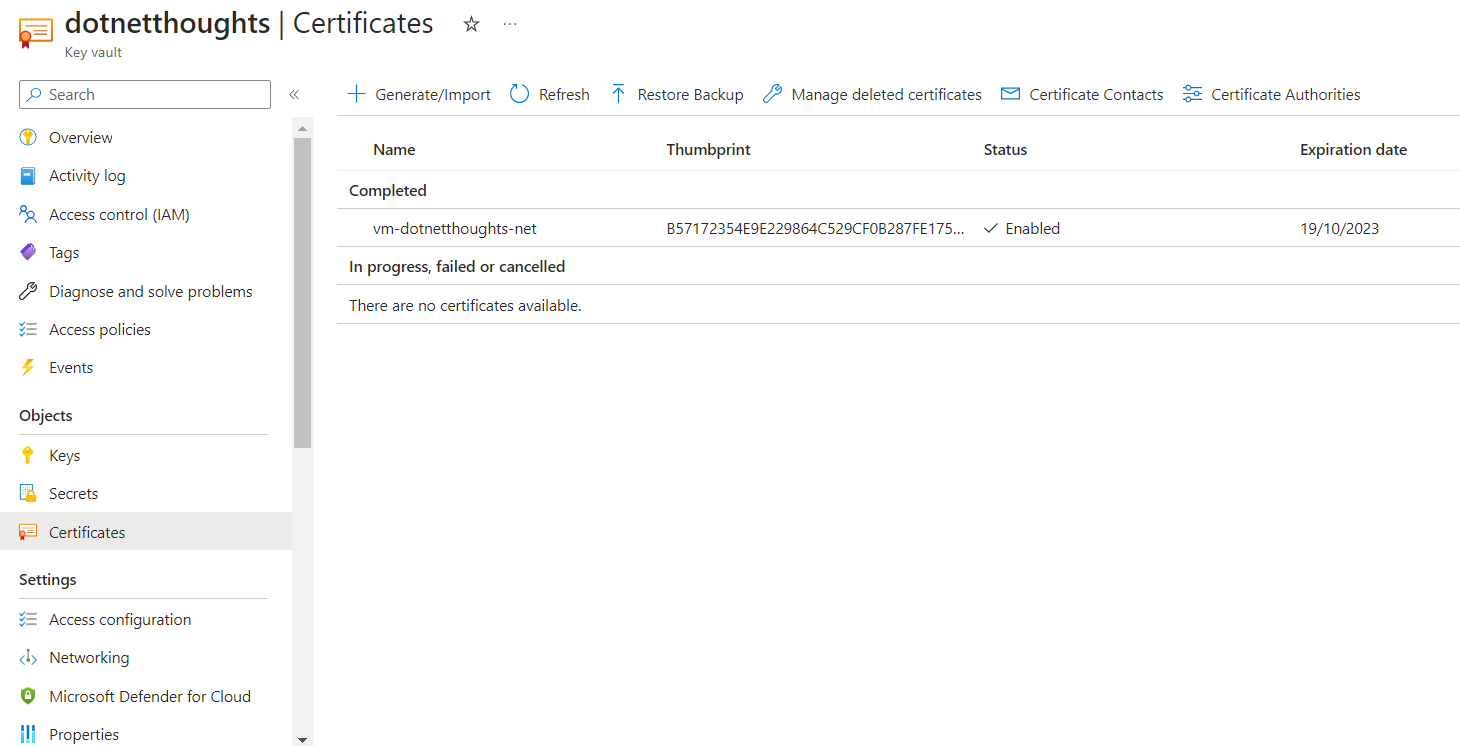
az keyvault certificate import --vault-name dotnetthoughts --name vm-dotnetthoughts-net --f .\vm.dotnetthoughts.net.pfx --password Your-SSL-Password. Once the import is complete, we will be able to see the Certificate like this in the Key Vault.
We need to install the certificate on Azure VM. We can use the following command to get the Id of the Azure Key vault certificate URL -
az keyvault secret list-versions --vault-name dotnetthoughts --name vm-dotnetthoughts-net --query "[?attributes.enabled].id" -o tsv, once the URL is received, use it in the next command, like this -az vm secret add --certificate https://dotnetthoughts.vault.azure.net/secrets/vm-dotnetthoughts-net/14f23fa2132d47f4b1a094384f2e43e9 --keyvault dotnetthoughts --name dotnetthoughts --resource-group webserver-us.Finally we need to configure the IIS to use the SSL certificate. We can do this by executing the following commands -
az vm run-command invoke --resource-group webserver-us --name dotnetthoughts --command-id RunPowerShellScript --scripts 'New-WebBinding -Name "Default Web Site" -Protocol https -Port 443'and thenaz vm run-command invoke --resource-group webserver-us --name dotnetthoughts --command-id RunPowerShellScript --scripts "Get-ChildItem cert:\localmachine\My | New-Item -Path IIS:\SslBindings\!443". Or we can execute the following commands,az vm run-command invoke --resource-group webserver-us --name dotnetthoughts --command-id RunPowerShellScript --scripts "Invoke-WebRequest https://raw.githubusercontent.com/Azure-Samples/compute-automation-configurations/master/secure-iis.ps1 -OutFile C:\secure-iis.ps1"- this command will download a powershell script and then we need to invoke the following command -az vm run-command invoke --resource-group webserver-us --name dotnetthoughts --command-id RunPowerShellScript --scripts "C:\secure-iis.ps1".Now we have configure the server and IIS binding. Now we can browse the URL with
https://. Here is the screenshot of the application.
If the web application is not working, make sure, HTTPS Port 443 is enabled on your Azure VM.
This way we can install the SSL certificate in the Azure VM and configure IIS to use it. In the next blog post, we will explore how we configure CI/CD pipelines to deploy the changes from source control.
Happy Programming.
Copyright © 2024 Anuraj. Blog content licensed under the Creative Commons CC BY 2.5 | Unless otherwise stated or granted, code samples licensed under the MIT license. This is a personal blog. The opinions expressed here represent my own and not those of my employer. Powered by Jekyll. Hosted with ❤ by GitHub