Generating HTTP API clients using dotnet tools and Visual Studio Connected Services
March 09, 2021 by Anuraj
DotNetCore VisualStudio TypeScript
This article discuss about generating HTTP API clients using dotnet tools and Visual Studio Connected Services. From .NET 5.0 onwards ASP.NET Core Web API template comes with Open API support. So when you create a new web api project, Open API is enabled by default. To generate client you can use dotnet CLI and Visual Studio. So firstly you need to create a ASP.NET Core Web API project. And verify swagger is enabled and it is working as expected. Next you can look into the client generation options.
Generate client using dotnet CLI
To generate client using CLI, first you need to install Microsoft.dotnet-openapi. You can do this with the command - dotnet tool install -g Microsoft.dotnet-openapi. Once it is installed, you can run the command dotnet-openapi to get more details or options about the tool. Next to consume the service, you need to create a client application, you can create a console application using dotnet new console command. Once you created the console app, you need to run the dotnet api tool like this ` dotnet-openapi add url https://localhost:5001/swagger/v1/swagger.json `. By running this command, the swagger.json is downloaded to the project root location and project file will updated with two nuget packages and now your console app can interact with the web api using the generated client. Your modified project file will like this.
<Project Sdk="Microsoft.NET.Sdk">
<PropertyGroup>
<OutputType>Exe</OutputType>
<TargetFramework>net5.0</TargetFramework>
</PropertyGroup>
<ItemGroup>
<PackageReference Include="Newtonsoft.Json" Version="12.0.2" />
<PackageReference Include="NSwag.ApiDescription.Client" Version="13.0.5" />
</ItemGroup>
<ItemGroup>
<OpenApiReference Include="swagger.json" SourceUrl="https://localhost:5001/swagger/v1/swagger.json" />
</ItemGroup>
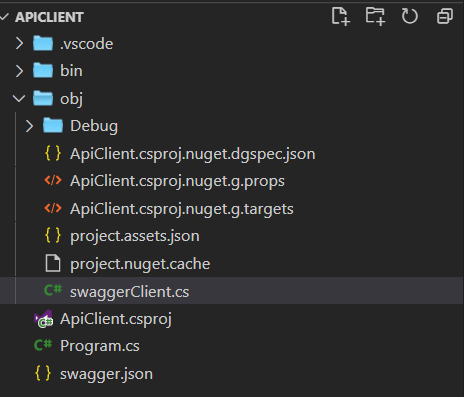
</Project>By default it will generate class called swaggerClient under your project namespace. You can view the file under obj folder.
You can use it in the Program.cs like this.
class Program
{
static void Main(string[] args)
{
using var httpClient = new HttpClient();
var service = new swaggerClient("https://localhost:5001/", httpClient);
var weatherForeCasts = service.WeatherForecastAsync().Result;
foreach (var weatherForecast in weatherForeCasts)
{
Console.WriteLine($"{weatherForecast.Date} - {weatherForecast.Summary}");
}
}
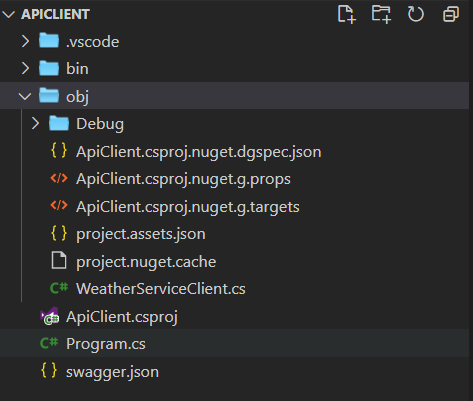
}You can customize the namespace, class name and class file name using OpenApiReference element in the project file. You need to modify the OpenApiReference element and include the elements like Namespace, ClassName and OutputPath, you will be able to control the code generation. Your modified project file will look like this. In this the namespace will change to WeatherService, class name will change to WeatherServiceClient.
<Project Sdk="Microsoft.NET.Sdk">
  <PropertyGroup>
    <OutputType>Exe</OutputType>
    <TargetFramework>net5.0</TargetFramework>
  </PropertyGroup>
  <ItemGroup>
    <PackageReference Include="Newtonsoft.Json" Version="12.0.2" />
    <PackageReference Include="NSwag.ApiDescription.Client" Version="13.0.5" />
  </ItemGroup>
  <ItemGroup>
    <OpenApiReference Include="swagger.json" SourceUrl="https://localhost:5001/swagger/v1/swagger.json">
      <Namespace>WeatherService</Namespace>
      <ClassName>WeatherServiceClient</ClassName>
      <OutputPath>WeatherServiceClient.cs</OutputPath>
    </OpenApiReference>
  </ItemGroup>
</Project>
You might need to delete the obj folder, otherwise you will be able to swaggerClient and WeatherServiceClient classes inside the obj folder.
And you need to modify the client application code like this.
using System;
using System.Net.Http;
using WeatherService;

class Program
{
    static void Main(string[] args)
    {
        using var httpClient = new HttpClient();
        var service = new WeatherServiceClient("https://localhost:5001/", httpClient);
        var weatherForeCasts = service.WeatherForecastAsync().Result;
        foreach (var weatherForecast in weatherForeCasts)
        {
            Console.WriteLine($"{weatherForecast.Date} - {weatherForecast.Summary}");
        }
    }
}
This tool also support generation of TypeScript code as well. You can find more details about this tool options here.
Generate client using Visual Studio
Visual Studio 2019 is also doing the same process. In Visual Studio, you don’t need to know the command line parameters, it is managed by Visual Studio. To get started, you need to create a console app in Visual Studio. Visual Studio uses the connected service feature to generate client code from Open API. So you need to right click on the project and choose Add menu, and select the Connected Service option. You will see a tab like this.
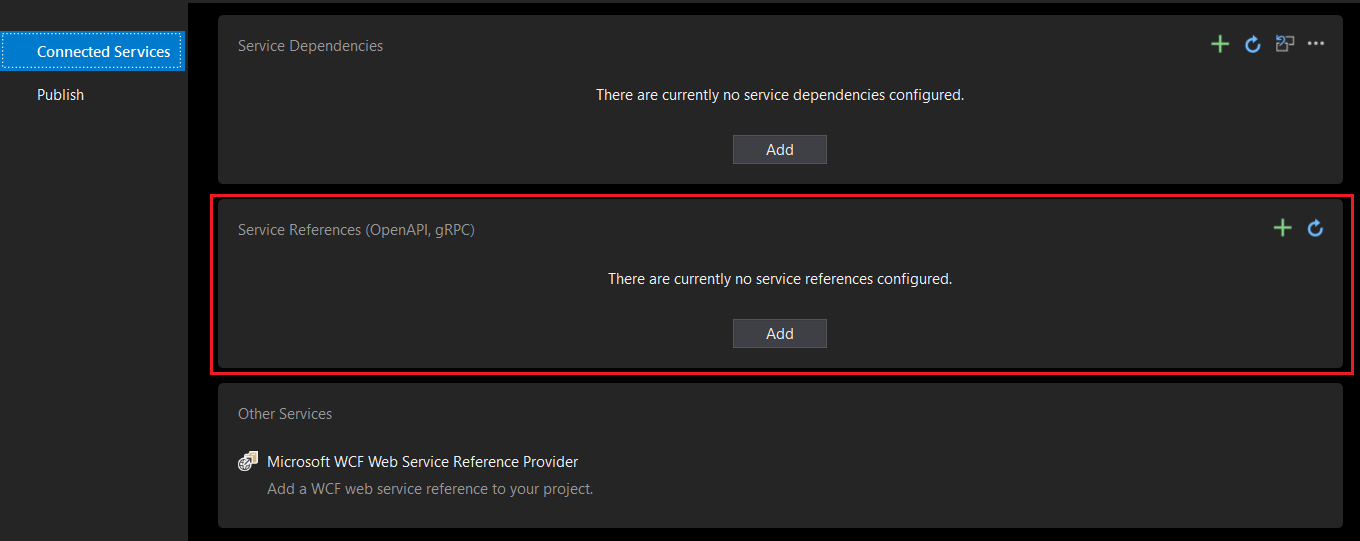
You need to click on the Add button and choose Open API from the Wizard.
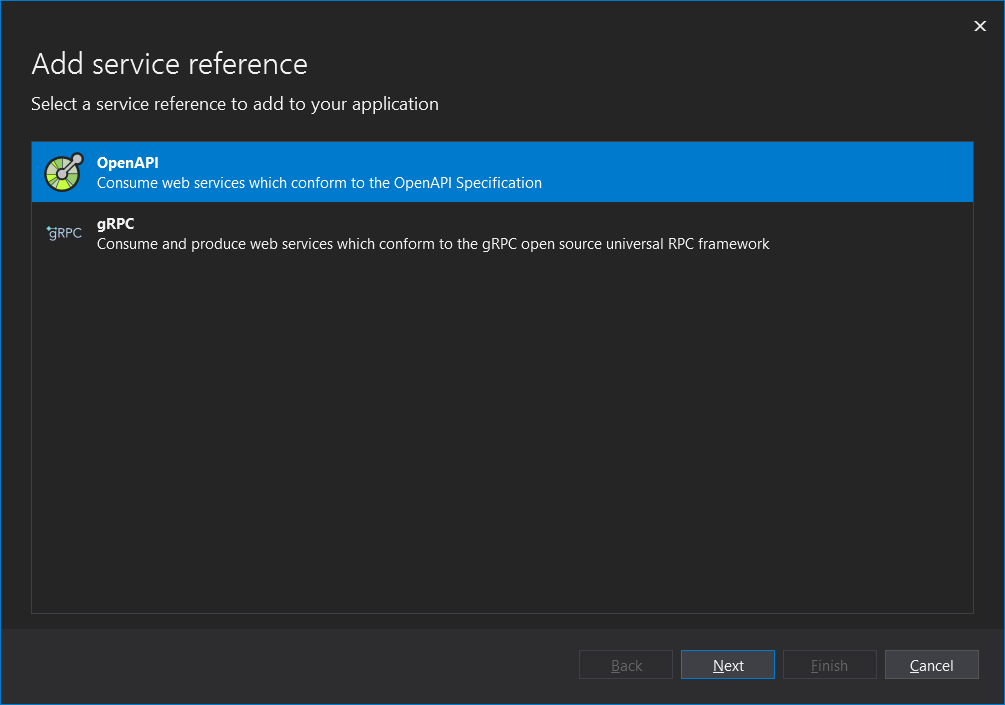
In the next screen, you can need to provide the swagger file, you can either configure the URL or you can provide the file downloaded from your API. And you need to configure the namespace and class name for the class. In Visual Studio there is a direct option to choose the language in which you want to generate the client code.
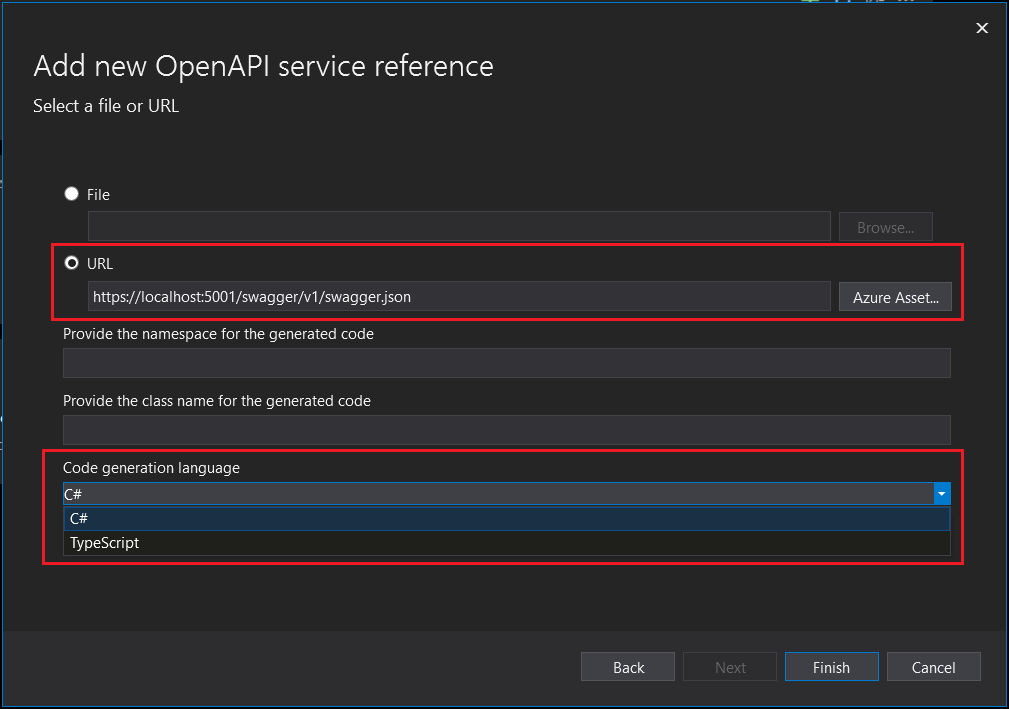
There is an option to browse your Open API definition if it from an Azure resource. Once you complete the configuration, you can click on the Finish button which will start the process and once it is completed you will be able to see a summary screen like this.
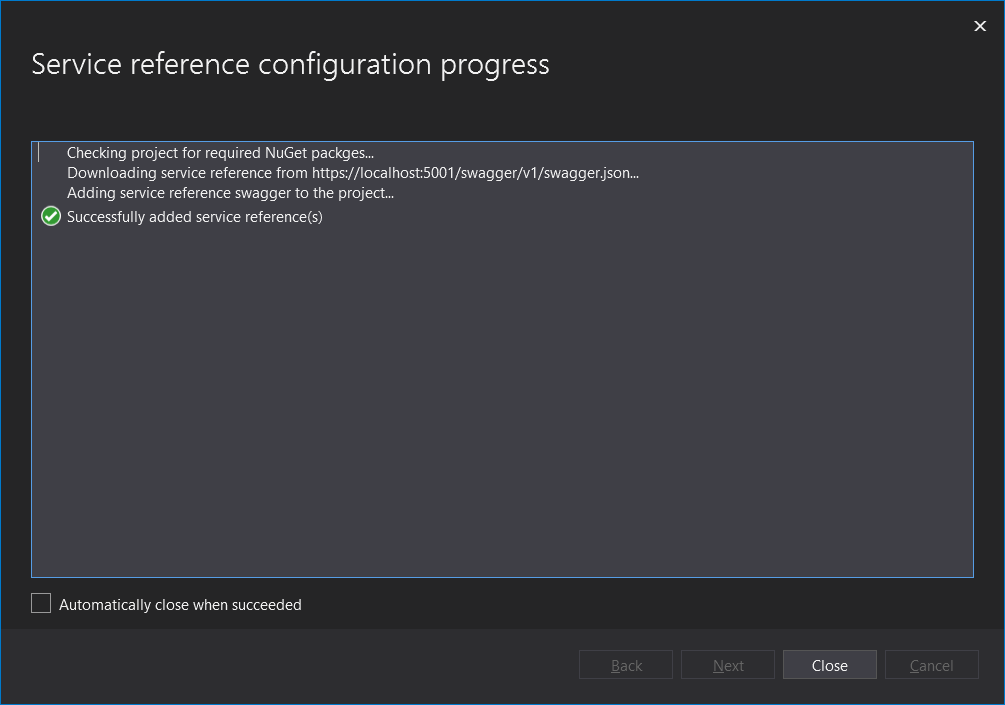
Next you can consume the generated classes in your project as mentioned earlier. Here is the project file updated by Visual Studio.
<Project Sdk="Microsoft.NET.Sdk">
	<PropertyGroup>
		<OutputType>Exe</OutputType>
		<TargetFramework>net5.0</TargetFramework>
	</PropertyGroup>
	<ItemGroup>
		<OpenApiReference Include="OpenAPIs\swagger.json" CodeGenerator="NSwagCSharp"
						  Namespace="WeatherService" ClassName="WeatherServiceClient">
			<SourceUri>https://localhost:5001/swagger/v1/swagger.json</SourceUri>
		</OpenApiReference>
	</ItemGroup>
	<ItemGroup>
		<PackageReference Include="Microsoft.Extensions.ApiDescription.Client" Version="3.0.0">
			<PrivateAssets>all</PrivateAssets>
			<IncludeAssets>runtime; build; native; contentfiles; analyzers; buildtransitive</IncludeAssets>
		</PackageReference>
		<PackageReference Include="Newtonsoft.Json" Version="12.0.2" />
		<PackageReference Include="NSwag.ApiDescription.Client" Version="13.0.5">
			<PrivateAssets>all</PrivateAssets>
			<IncludeAssets>runtime; build; native; contentfiles; analyzers; buildtransitive</IncludeAssets>
		</PackageReference>
	</ItemGroup>
</Project>
So using this feature of Visual Studio and dotnet tool, you will be able to generate client code without much effort. Behind the scene Visual Studio and the tool is using NSwag for generating the client code. There is a detailed blog post about how to use NSwag to generate Angular code.
Reference Links
- Develop ASP.NET Core apps using OpenAPI tools
- Generating HTTP API clients using Visual Studio Connected Services
Happy Programming :)
Copyright © 2024 Anuraj. Blog content licensed under the Creative Commons CC BY 2.5 | Unless otherwise stated or granted, code samples licensed under the MIT license. This is a personal blog. The opinions expressed here represent my own and not those of my employer. Powered by Jekyll. Hosted with ❤ by GitHub