Hosting ASP.NET Core applications on Heroku using Docker
February 22, 2017 by Anuraj
ASP.NET Core Heroku Docker
This post is about hosting ASP.NET Core applications on Heroku using Docker. Heroku is a cloud Platform-as-a-Service (PaaS) supporting several programming languages that is used as a web application deployment model. Heroku, one of the first cloud platforms, has been in development since June 2007, when it supported only the Ruby programming language, but now supports Java, Node.js, Scala, Clojure, Python, PHP, and Go. Heroku doesn’t support .NET or .NET Core natively, but recently they started supporting Docker. In this post I am using Docker to deploy my application to Heroku, there is build pack option is also available (Build Pack is the deployment mechanism which is supported by Heroku natively.), but there is no official build pack for .NET available yet.
Here is some details about the Dockerfile commands and runtime from Heroku documentation. Few important points, which is required compared to dockerfile used in ASP.NET Core are.
- The web process must listen for HTTP traffic on $PORT, which is set by Heroku. EXPOSE in Dockerfile is not respected, but can be used for local testing.
- CMD is required. If CMD is missing, the registry will return an error.
For deployment you require two prerequisites.
First you build the project, then you need to create the Docker image, and finally you need to publish the image to Heroku. I have created a MVC project using dotnet new command.
Once you created the project, you can build it using dotnet publish command.
dotnet publish -c ReleaseSo your project will be compiled and output will be generated in the bin\Release\netcoreapp1.1\publish folder.
To deploy to Heroku, first you need to login to the container registry using heroku container:login command, once you login, you can build a docker image.
docker build -t helloworld-aspnetcore ./bin/Release/netcoreapp1.1/publishHere is the Dockerfile I am using.
FROM microsoft/dotnet:1.1.0-runtime
WORKDIR /app
COPY . .
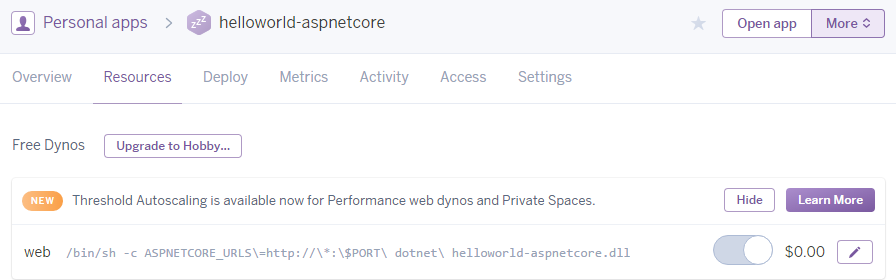
CMD ASPNETCORE_URLS=http://*:$PORT dotnet helloworld-aspnetcore.dllSince I am running the already published application, my base image is dotnet runtime. And I am using ASPNETCORE_URLS environment variable to bind the $PORT value from Heroku to Kestrel. Initialy I tried using the command line options but it was not working. And you need to copy the Dockerfile to the publish folder,otherwise the command will fail.

Once you build the container, you need to tag it and push it according to this naming template. Here is the commands.
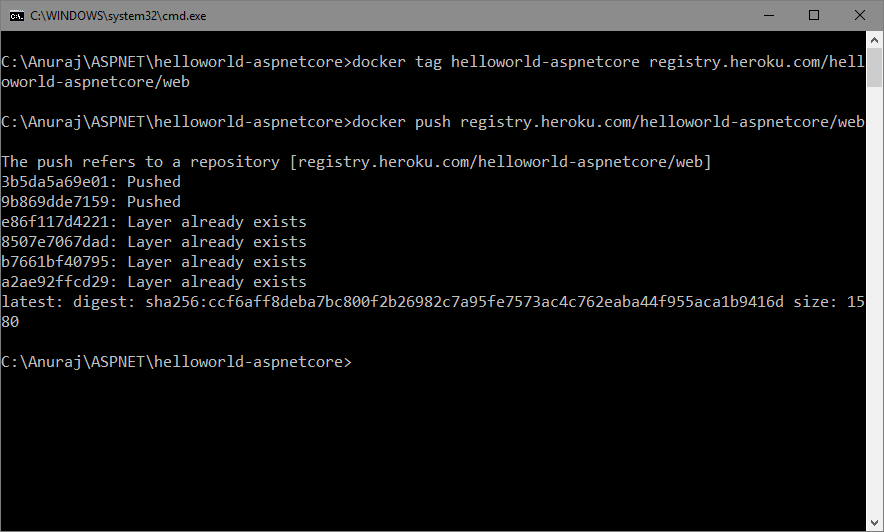
docker tag helloworld-aspnetcore registry.heroku.com/helloworld-aspnetcore/webIn this helloworld-aspnetcore is my app name. You can create apps either using the Web dashboard or using Heroku CLI - heroku create is the command to create an app using CLI. Once you tag it, you need to push the image to Heroku registry, here is the command.
docker push registry.heroku.com/helloworld-aspnetcore/webThis might take some time depends on the image size and your network bandwidth. Since I already hosted, I am pushing the Web application only.
Now you can browse the app using https://helloworld-aspnetcore.herokuapp.com/ url, if deployment was successful and Kestrel started, you will see an ASP.NET MVC Home Page. If you are viewing an application error page, you need to look into the logs from Heroku.
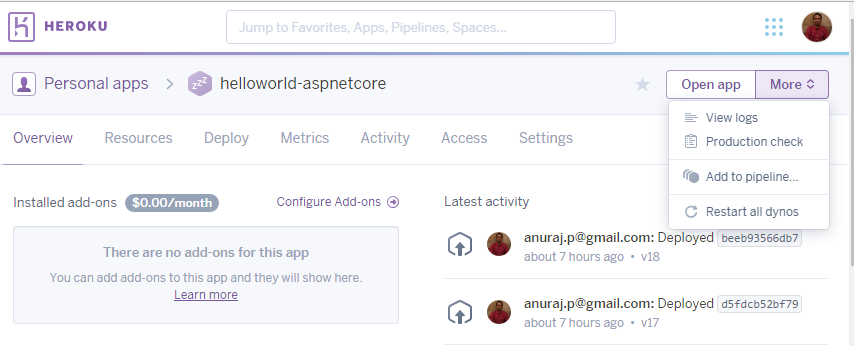
Also make sure you’re running a dynos in Heroku, otherwise your app won’t work. You can create and use it from Resources menu.
Happy Programming :)
Copyright © 2024 Anuraj. Blog content licensed under the Creative Commons CC BY 2.5 | Unless otherwise stated or granted, code samples licensed under the MIT license. This is a personal blog. The opinions expressed here represent my own and not those of my employer. Powered by Jekyll. Hosted with ❤ by GitHub