Implementing Authentication in Azure Static Web Apps - Part 2
January 13, 2023 by Anuraj
Azure Security Static Web Apps
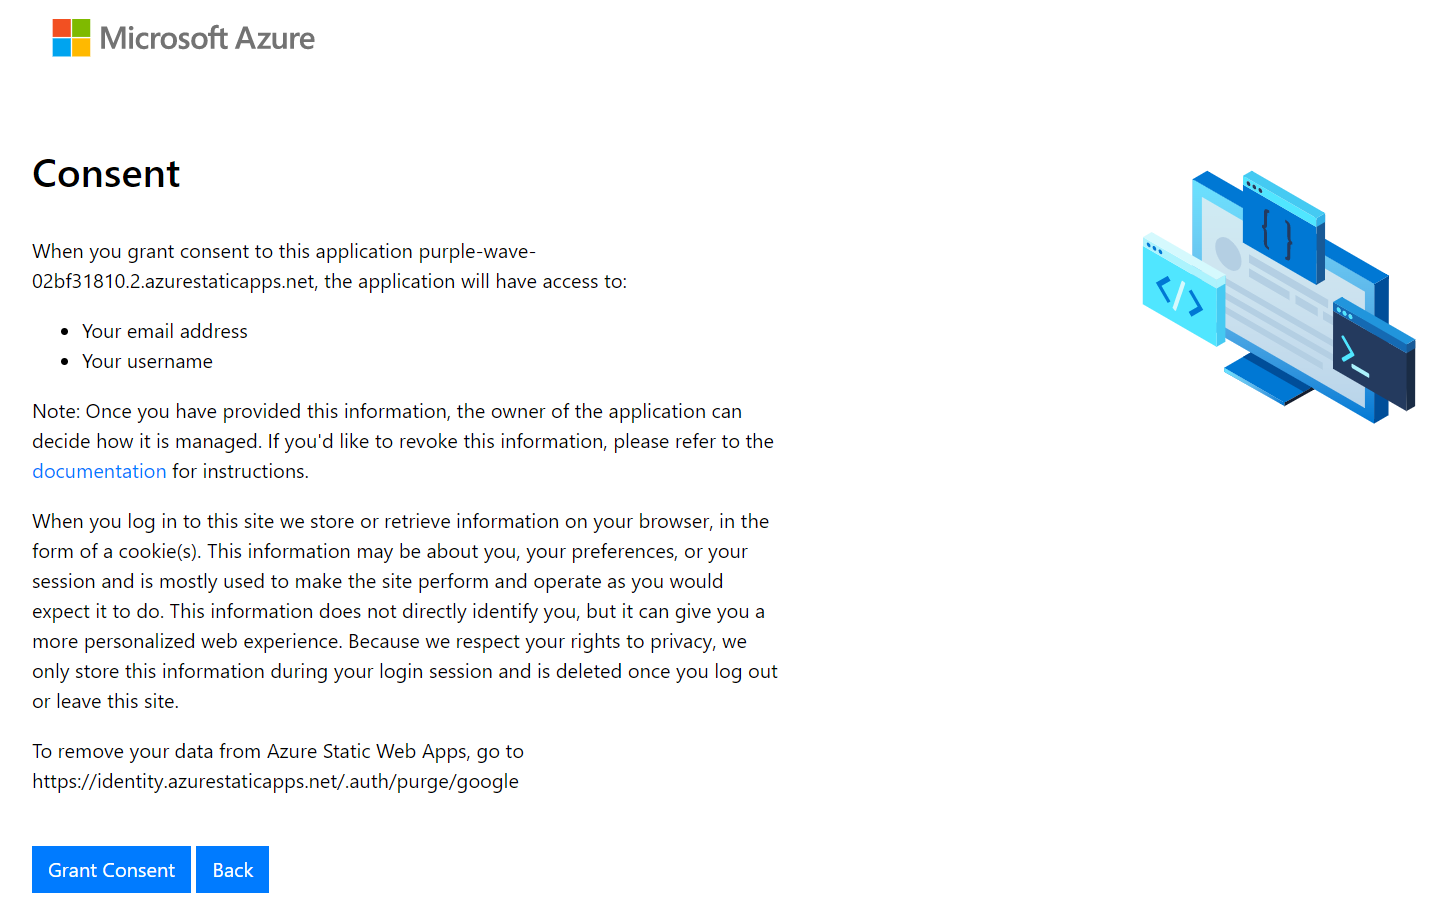
In the last post we discussed about implementing the authentication in Static Web App Free Plan. For Standard plan, we can use our own client Id and client secret of the social provider. Using your own client Id and client secret will help you to avoid the Azure concent screen once you logged into the app. Something like this.
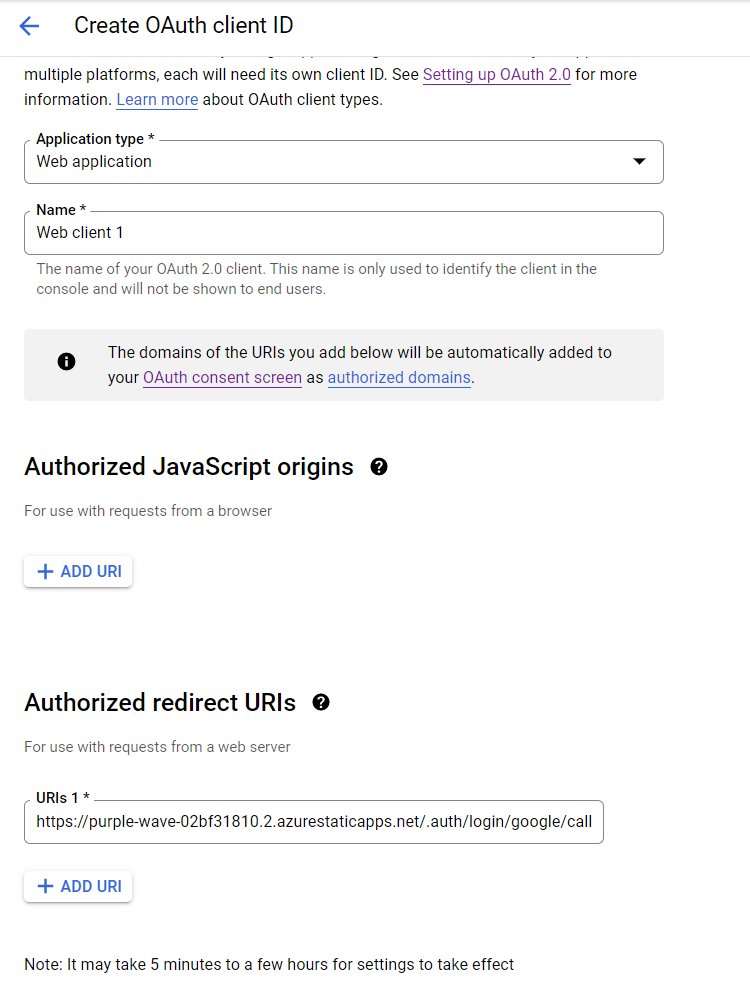
First you need a project in Google console. If you’re creating a new project, you may need to setup the consent screen in Google as well. Once it is done, click on the Credentials screen. And click on the Create Credentials button and choose OAuth Client ID. In the screen you need to configure your app type, app name and Authorized redirect URIs. The app type should be web app, app name you can provide your app name, and redirect URI should be your static web app URL with .auth/login/google/callback so if your app name is https://dotnetthoughts.azurewebsites.net, then callback URL should be https://dotnetthoughts.azurewebsites.net/.auth/login/google/callback.
Once you save, you will get a Client Id and Client secret. Please note them. Next you need to go to Azure Portal, select the static web app you like to change the pricing tier, and choose Hosting Plan menu. And in the screen select the Standard option, and click on Save. Next in the application root folder, create a file - staticwebapp.config.json - if you already got one, you can use it, and add the following code.
{
"auth": {
"identityProviders": {
"google": {
"registration": {
"clientIdSettingName": "GOOGLE_CLIENT_ID",
"clientSecretSettingName": "GOOGLE_CLIENT_SECRET"
}
}
}
}
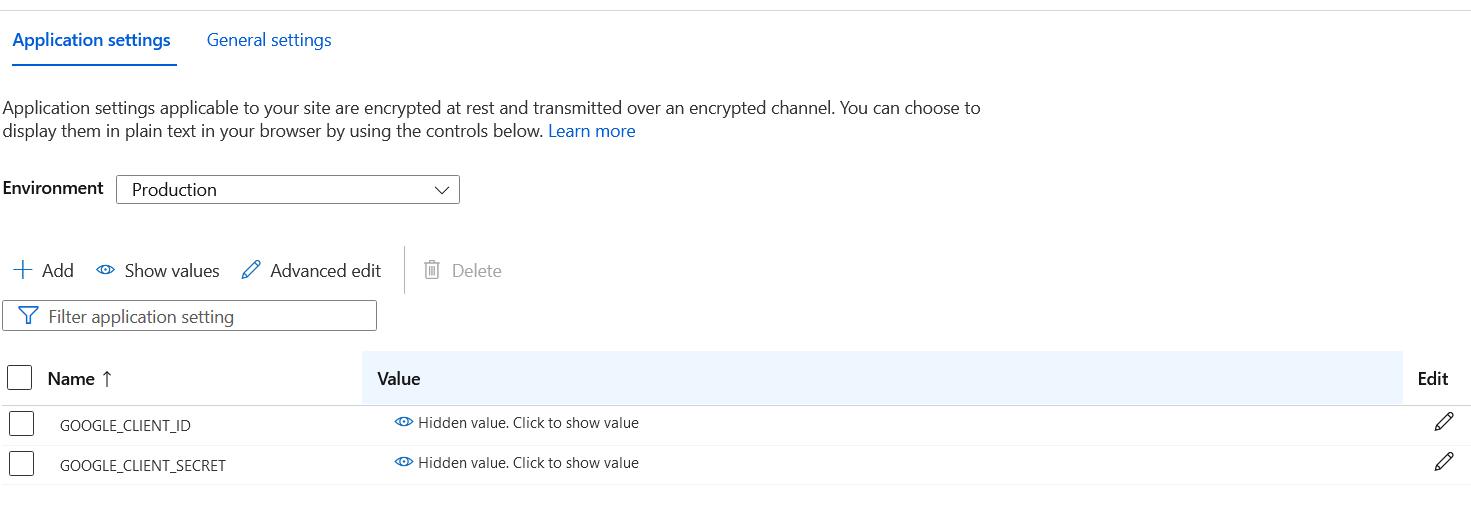
}Next, you need to configure the Google client Id and client secret to the application settings. Click on the Configuration menu and click Add, for client Id, set the name GOOGLE_CLIENT_ID and set the value you got from the Google console. Do the same for client secret as well.
Then commit the changes which will trigger the build and deployment. Once the deployment completes, we can check the Google authentication. Unlike the earlier time you will get more details, like scopes and there is no concent screen will be displayed.
This way you can configure azure static web app with Google authentication in Standard plan. Please note, when you switch between Free Plan and Standard Plan and if you’re using your own provider client app, the user unique identifier will change.
Happy Programming.
Copyright © 2024 Anuraj. Blog content licensed under the Creative Commons CC BY 2.5 | Unless otherwise stated or granted, code samples licensed under the MIT license. This is a personal blog. The opinions expressed here represent my own and not those of my employer. Powered by Jekyll. Hosted with ❤ by GitHub