Infuse Machine Learning into your ASP.NET Core apps
June 20, 2021 by Anuraj
aspnetcore dotnetcore machinelearning
This article is about infusing machine learning into your ASP.NET Core applications with ML.NET. ML.NET is a free, open source, and cross platform machine learning framework for the .NET developer platform. In this example, I am using ML.NET Model Builder with the help of Visual Studio. Few months back I wrote an article about Building mailinator clone using SendGrid and ASP.NET Core. In this example, I am integrating machine learning identify incoming emails are Spam or Not Spam.
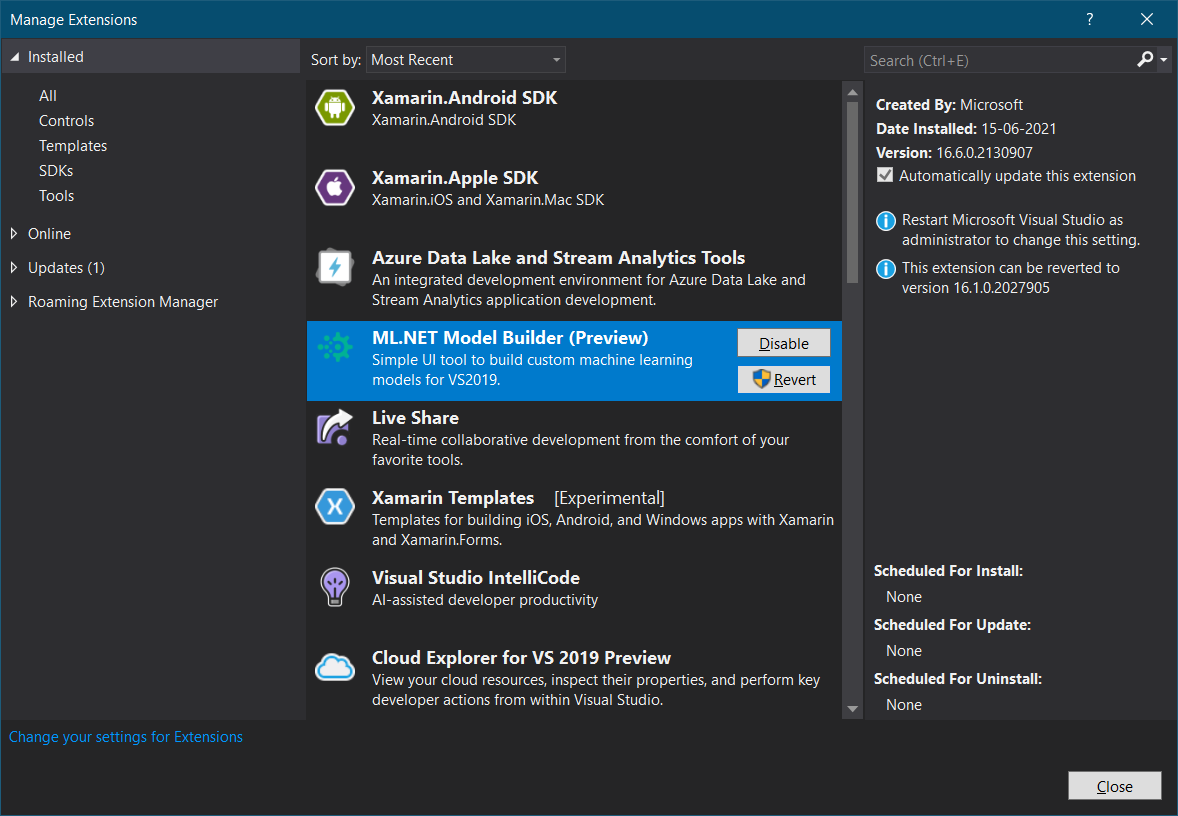
To use ML.NET Model Builder, first you need to install ML.NET Model Builder (Preview). You can do this by Visual Studio > Extensions > Manage Extensions. ML.NET Model Builder is an intuitive graphical Visual Studio extension to build, train, and deploy custom machine learning models. Model Builder uses automated machine learning (AutoML) to explore different machine learning algorithms and settings to help you find the one that best suits your scenario.
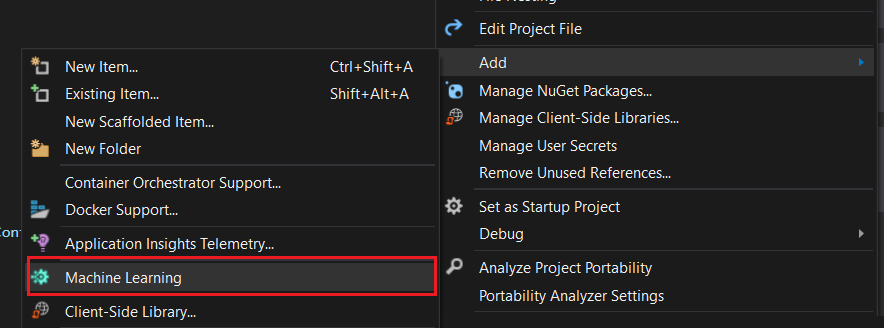
As I mentioned earlier you don’t need machine learning expertise to use Model Builder. All you need is some data, and a problem to solve. Model Builder generates the code to add the model to your .NET application. Once you install ML.NET Model Builder, you will be able to right click on the project and Add Machine Learning.
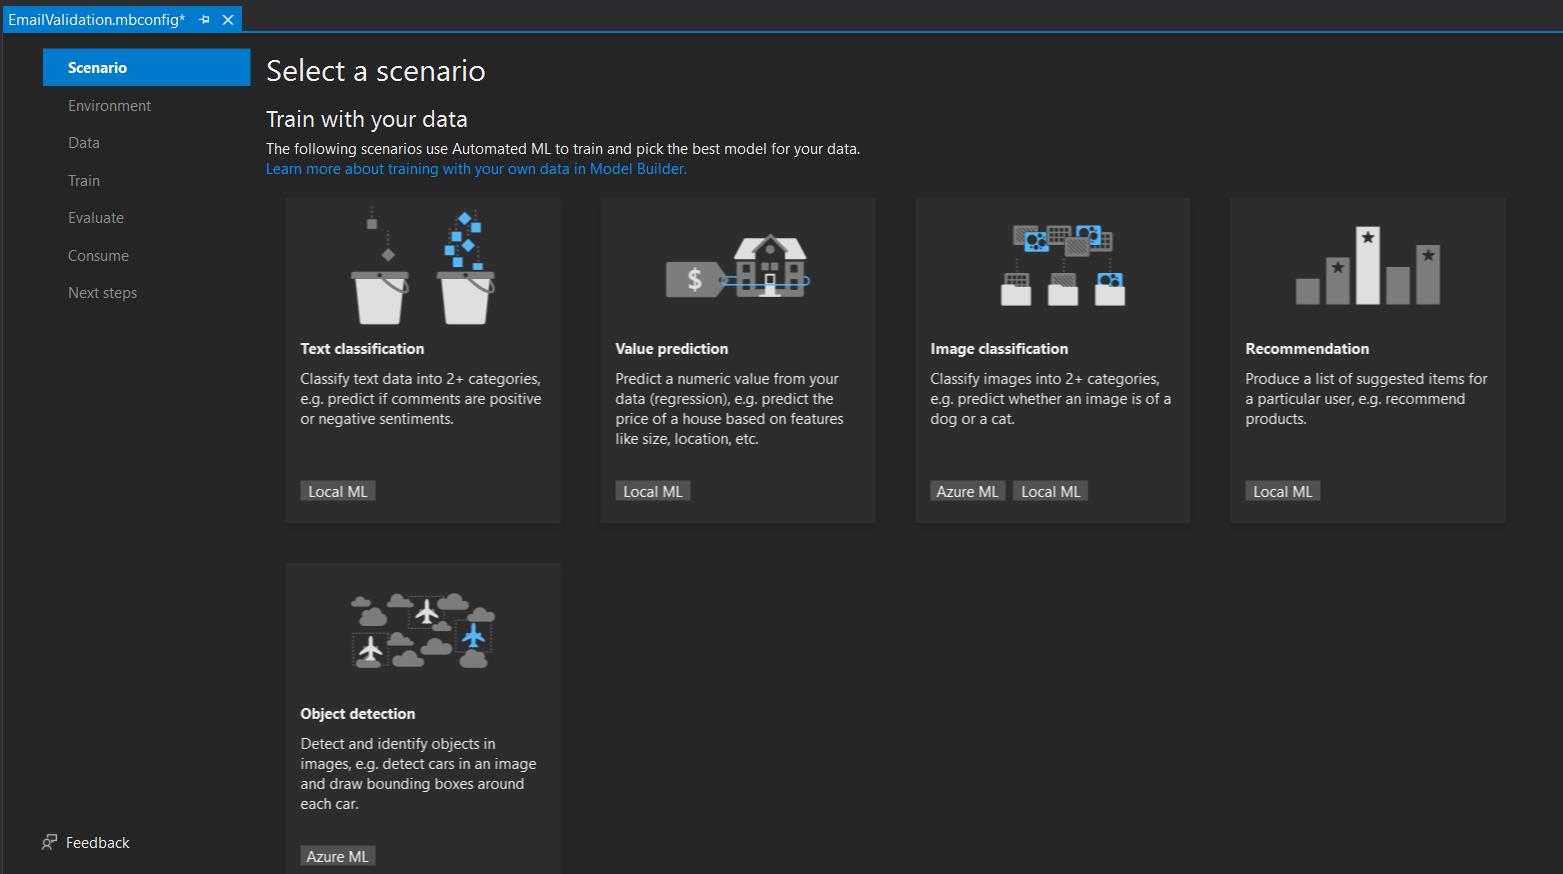
Once you provide a file name for the mbconfig file. Visual Studio will show a wizard, which will help you to add Machine Learning into your application. You can add it to any type of .NET application. In this article I am using this for ASP.NET Core app.
In the first wizard screen, you need to choose a scenario - A scenario is a description of the type of prediction you want to make using your data. In this example, you need to choose the Text Classification which helps you to classify text data into 2+ categories, which is helpful because we wanted to mark email Spam or No Spam based on email body.
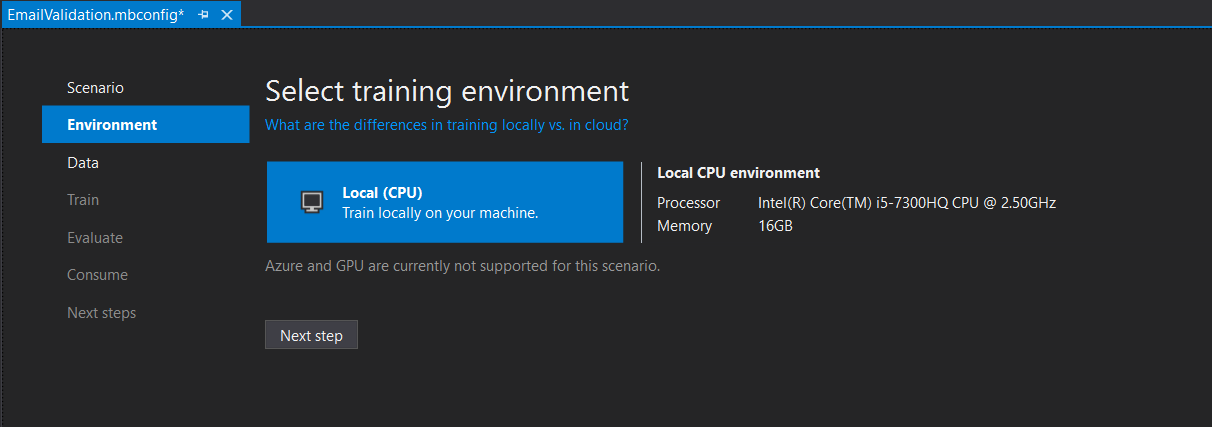
Once you choose the Text Classification, in the next screen you need to choose Training Environment, since Text Classification supported in Local Environment, you can do the training on your machine.
In the next step you need to choose the dataset and column you want to predict. In this example I am using a dataset I found in GitHub. You can find it from here. I cleaned the data a little bit, removed few un wanted columns, renamed spam and ham values to 1 and 0.
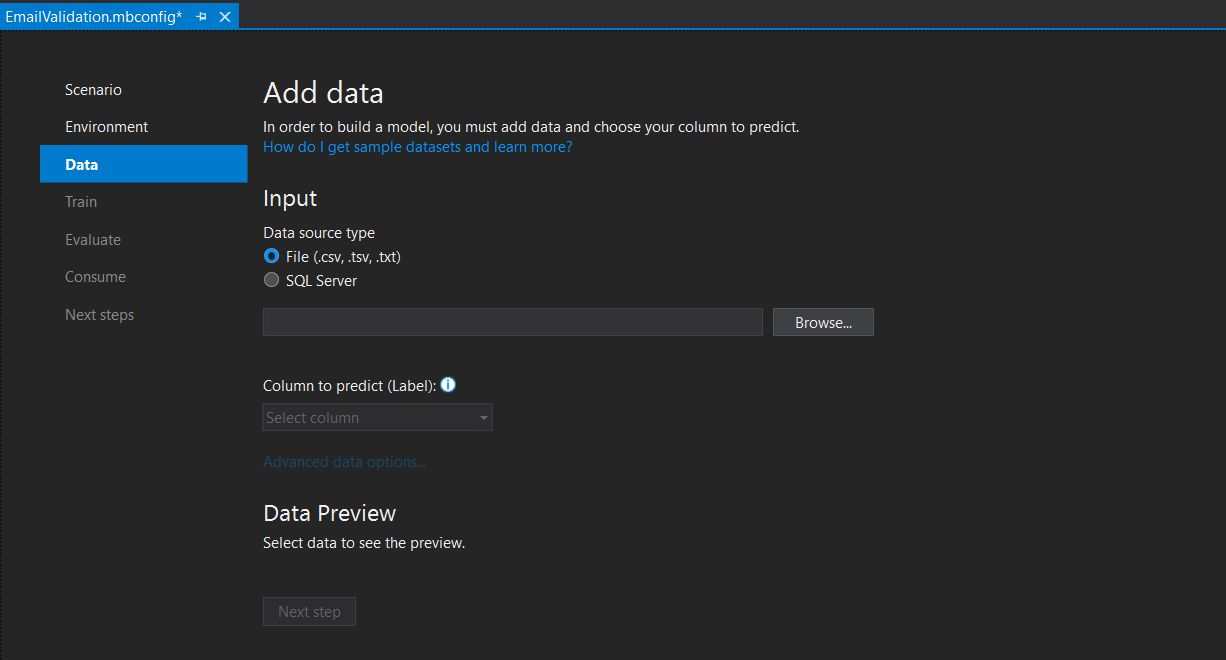
You need to choose the cleaned dataset as CSV file, and select the Column to predict (Label) as IsSpam.
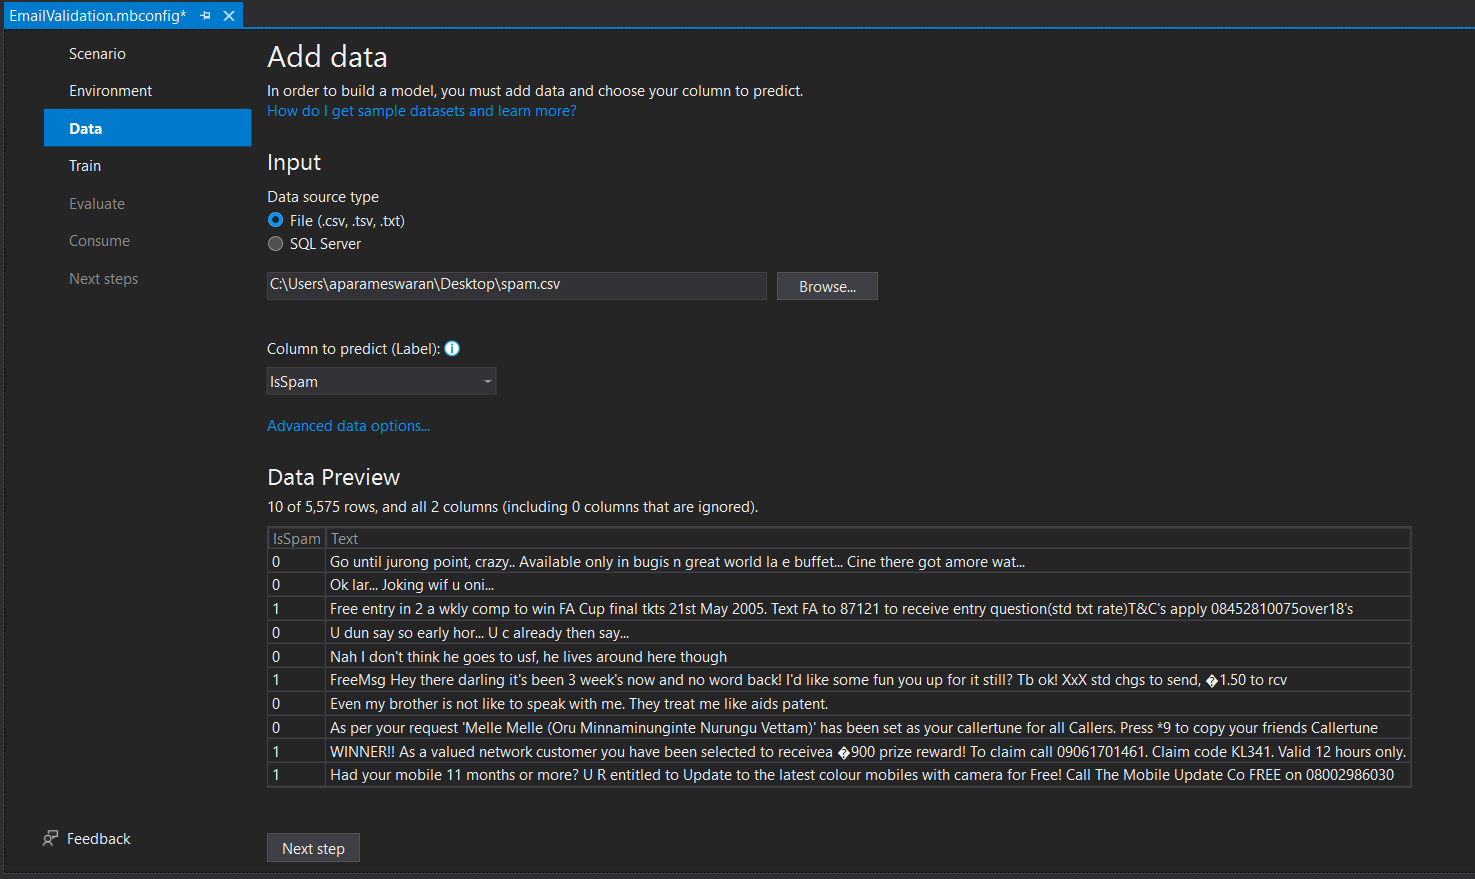
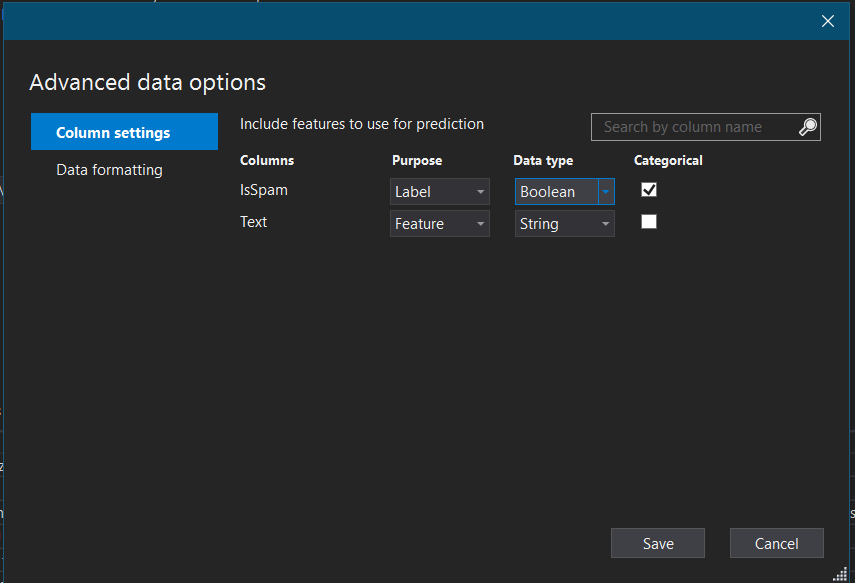
This screen will show a Preview of the data as well. Using the Advanced Data operations, you will be able to configure formatting and configure data options. In this example, I am changing the Data Type of IsSpam to Boolean.
In the next screen you can train the system with the dataset.
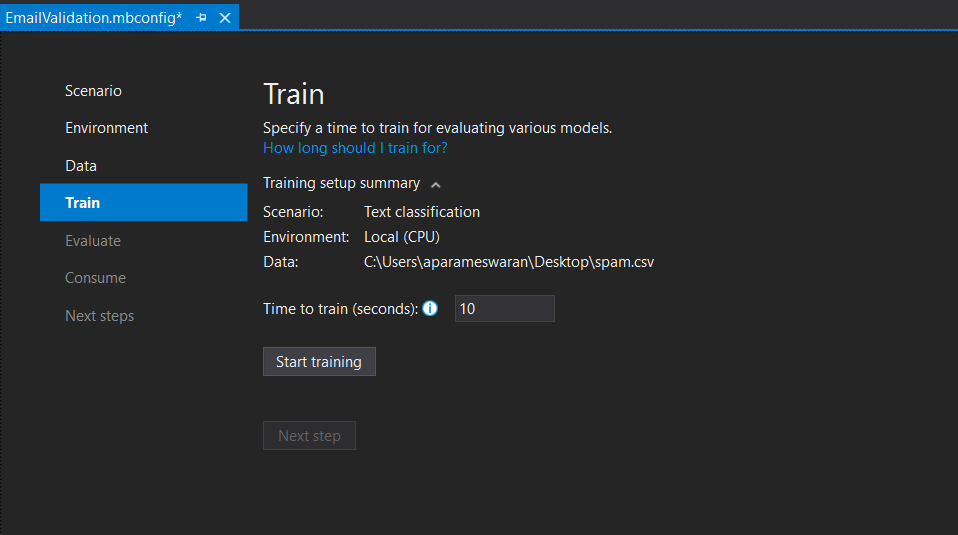
The time to train selected by Model Builder based on the dataset size. If you provide longer time period, Model Builder will explore models with a wide range of settings which will help you to get a better model. For this demo I am continuing with the default time period suggested by Model Builder. If you’re using a very big model and you have configured a small time period you will get a warning. Once you click on Start Training Model builder start training and you can find the details in the output window.
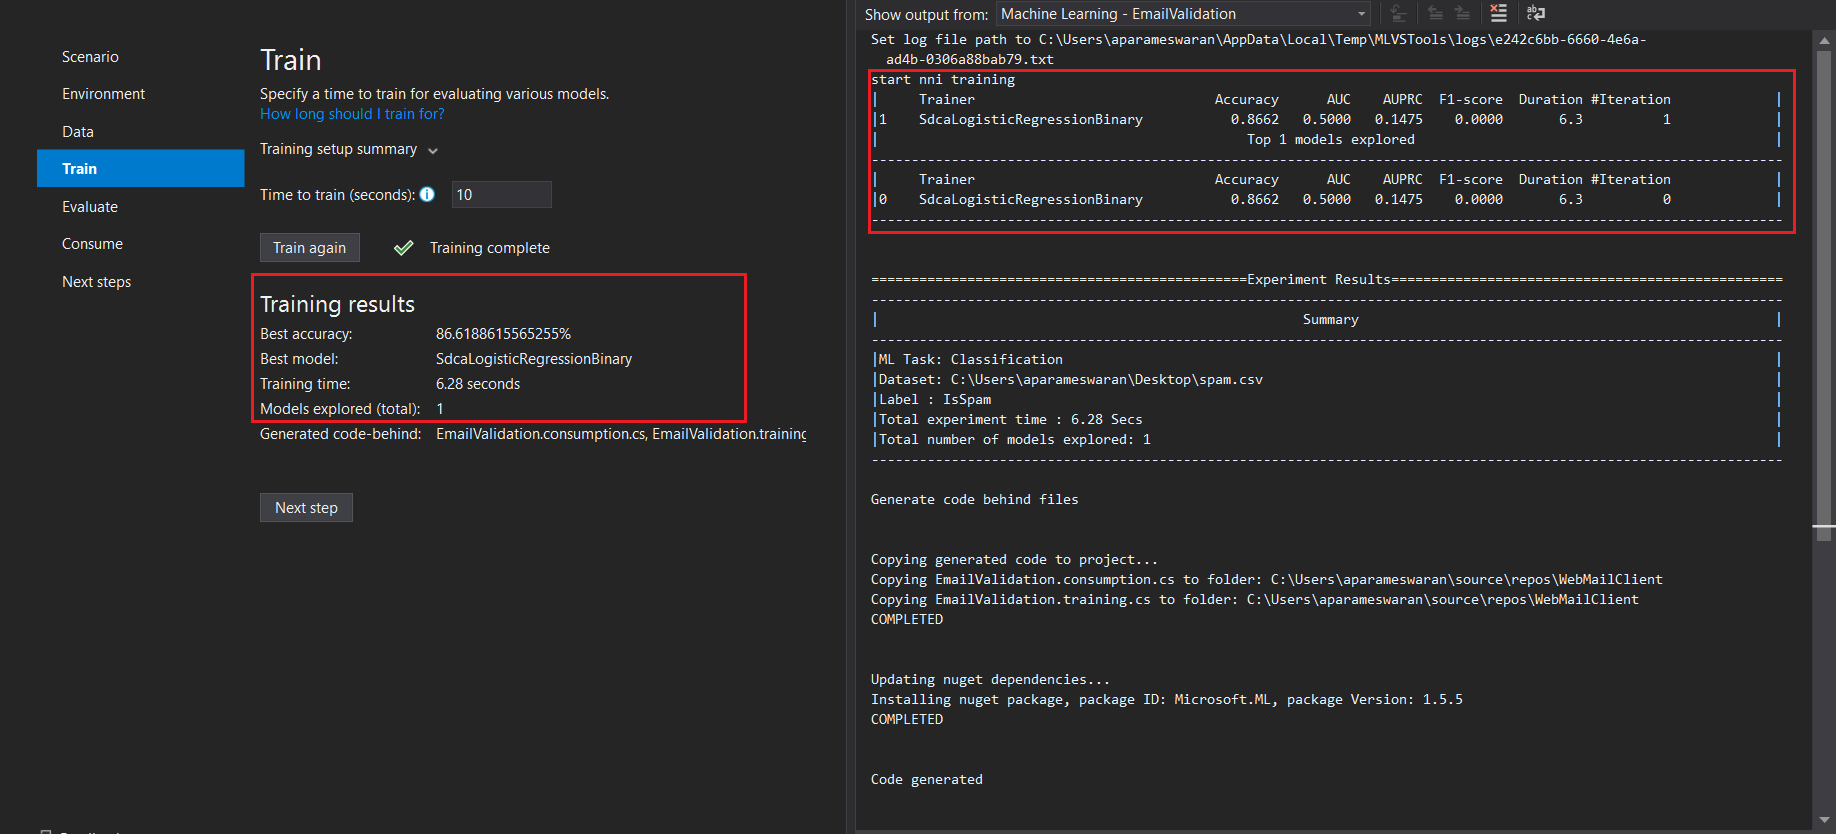
If you notice, Model Builder explored the Model with only one Algorithm - SdcaLogisticRegressionBinary and accuracy of that 86. Let’s increase the time to 60 seconds and Train again and we will see the results.
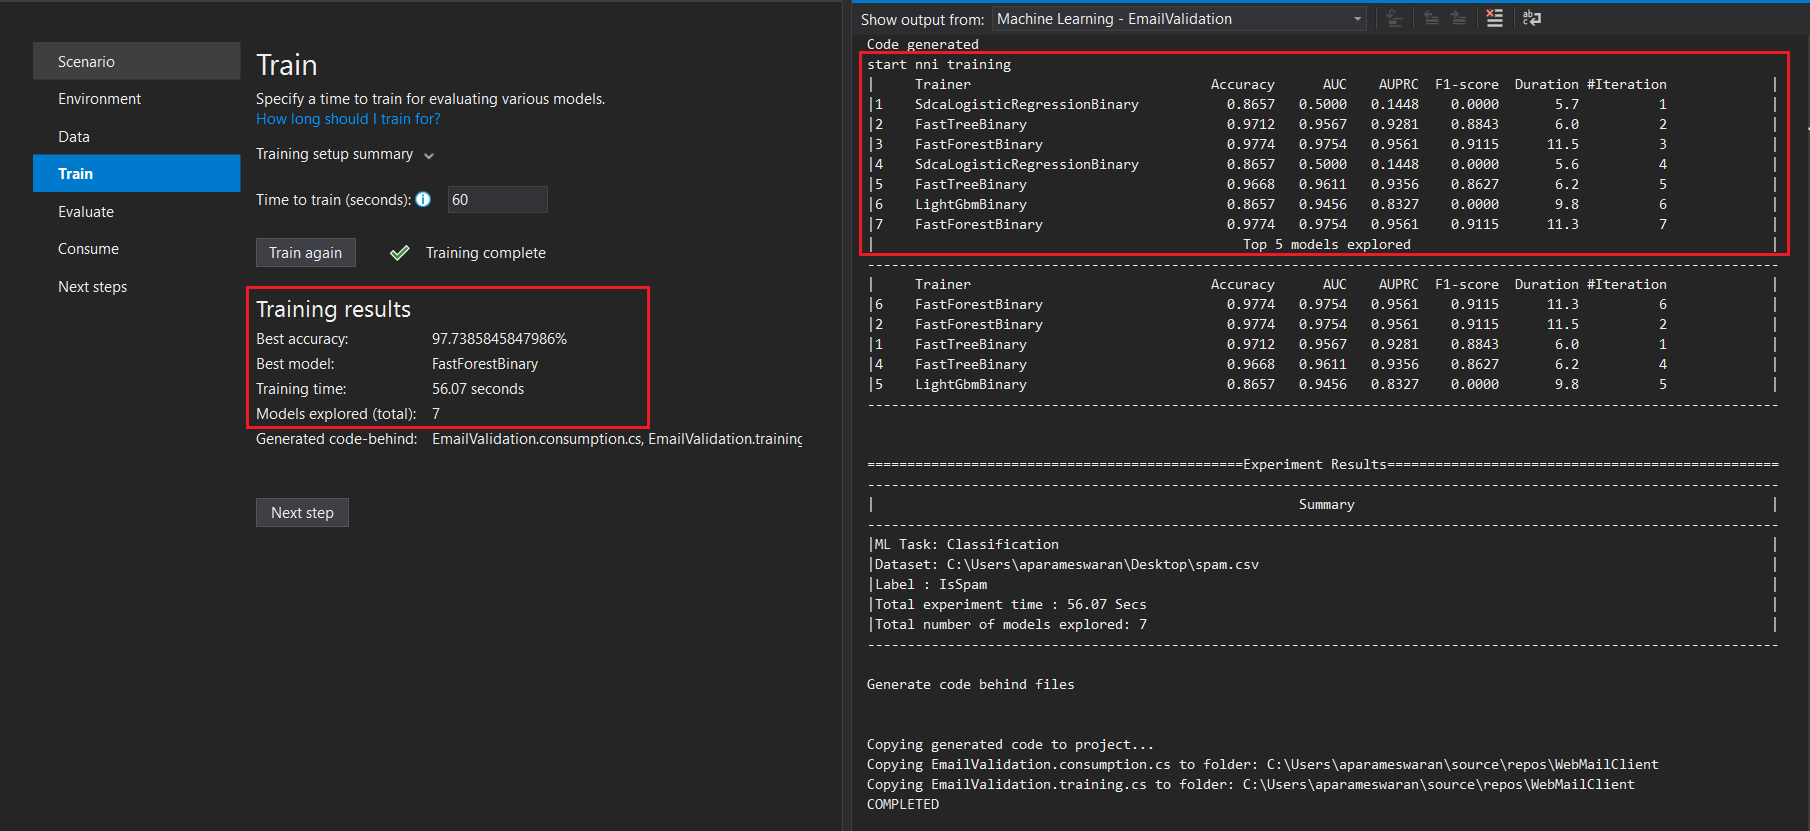
Now if you notice, Model Builder explored 5 models and we got a different algorithm - FastForestBinary and better accuracy - 97. Click on next button to continue. In the next screen, you will be able to Evaluate the model with the existing data or you can provide a example text and verify the results.

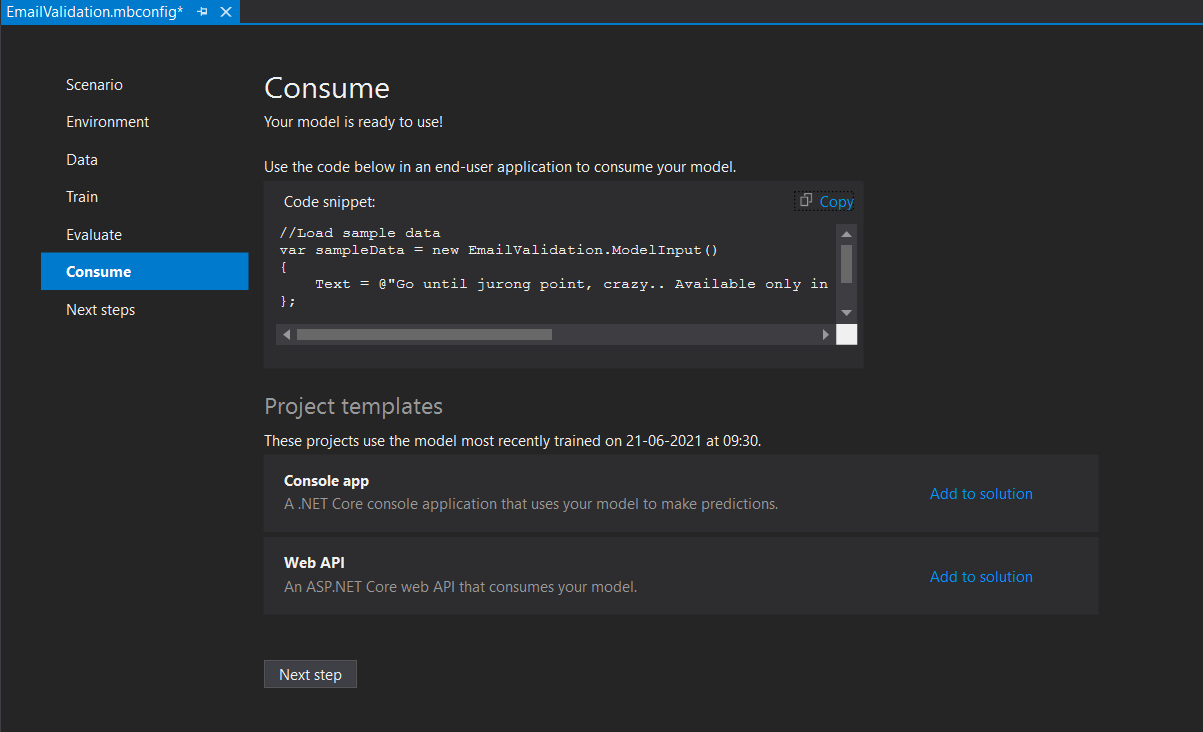
You can provide a text or you can use the pre-filled data and predict and verify the results. Now you have completed the machine learning implementation. In the next screen you can get the code to consume this model in your application. Model Builder also supports to adding this Model as a Web API service or console application to your current project.
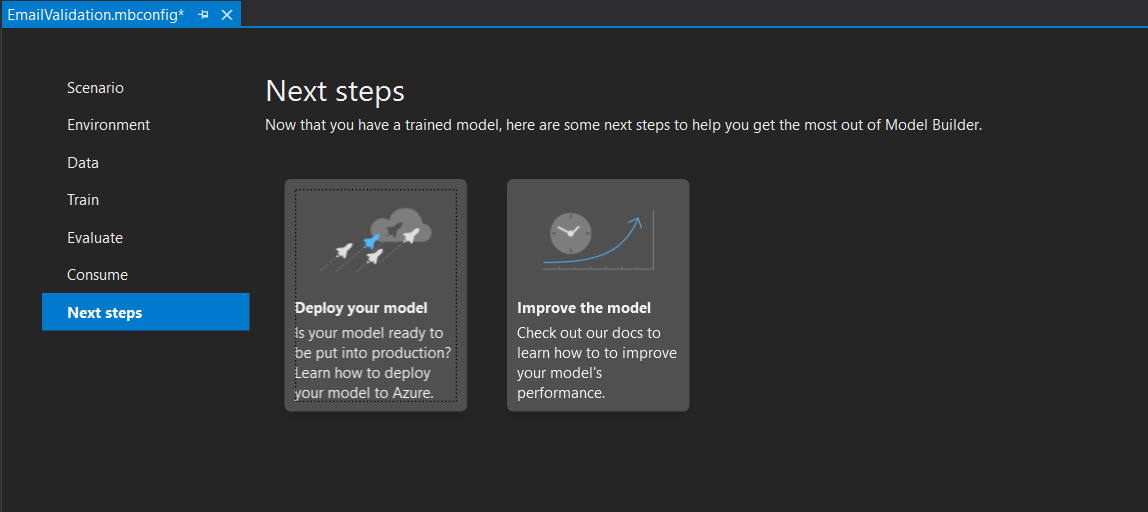
And in the final step you can learn about how to deploy your model and how to improve the model.
Now you have completed the configuration, lets modify the ASP.NET Core application to predict the whether the email is Spam or No Spam. In the code I have got a POST http method, like this.
[HttpPost]
public async Task<IActionResult> Post()
{
    var collection = await Request.ReadFormAsync();
    var email = _mapperService.Map<Email>(collection);
    _webMailClientDbContext.Emails.Add(email);
    email.CreatedOn = DateTime.Now;
    await _webMailClientDbContext.SaveChangesAsync();
    return Ok();
}
I am modifying this code like this.
[HttpPost]
public async Task<IActionResult> Post()
{
    var collection = await Request.ReadFormAsync();
    var email = _mapperService.Map<Email>(collection);
    _webMailClientDbContext.Emails.Add(email);
    email.CreatedOn = DateTime.Now;

    var emailSpamPrediction = Predict(new ModelInput() { Text = email.Text });
    email.IsSpam = emailSpamPrediction.Prediction;

    await _webMailClientDbContext.SaveChangesAsync();
    return Ok();
}
You can store other details like Probability and Score properties of the Predict method. Now you build an intelligent asp.net core web app which will classify the emails using Machine learning. You can use Text Classification for classifying support emails, GitHub issues etc. You can use other scenarios for Image Classification or Product Recommendations. You can find implementation of these in ML.NET Samples Page. It is not limited to Model Builder, you can directly write C# code with ML.NET library. And ML.NET CLI tool is also available for cross platform development.
I am adding few resources which help you to start your machine learning journey with ML.NET and C#.
- .NET Machine Learning & AI
- ML.NET Tutorial - Get started in 10 minutes
- ML.NET Github
- ML.NET Samples
- ML.NET Youtube Playlist
Happy Programming :)
Copyright © 2024 Anuraj. Blog content licensed under the Creative Commons CC BY 2.5 | Unless otherwise stated or granted, code samples licensed under the MIT license. This is a personal blog. The opinions expressed here represent my own and not those of my employer. Powered by Jekyll. Hosted with ❤ by GitHub