Managing Azure App Service SSL Certificate with Azure Key Vault
February 05, 2021 by Anuraj
Azure AppService Azure KeyVault
In my last blog post I wrote about working with SSL certificate in Azure App Service. In this article I will explain how to manage Azure App Service SSL certificates with Azure Key Vault Service. If you’re running SAAS applications on Azure App Service with custom domains and SSL certificates it is quite complicated. Here is a screenshot of an App Service running a SAAS app with custom domain and SSL certificates.
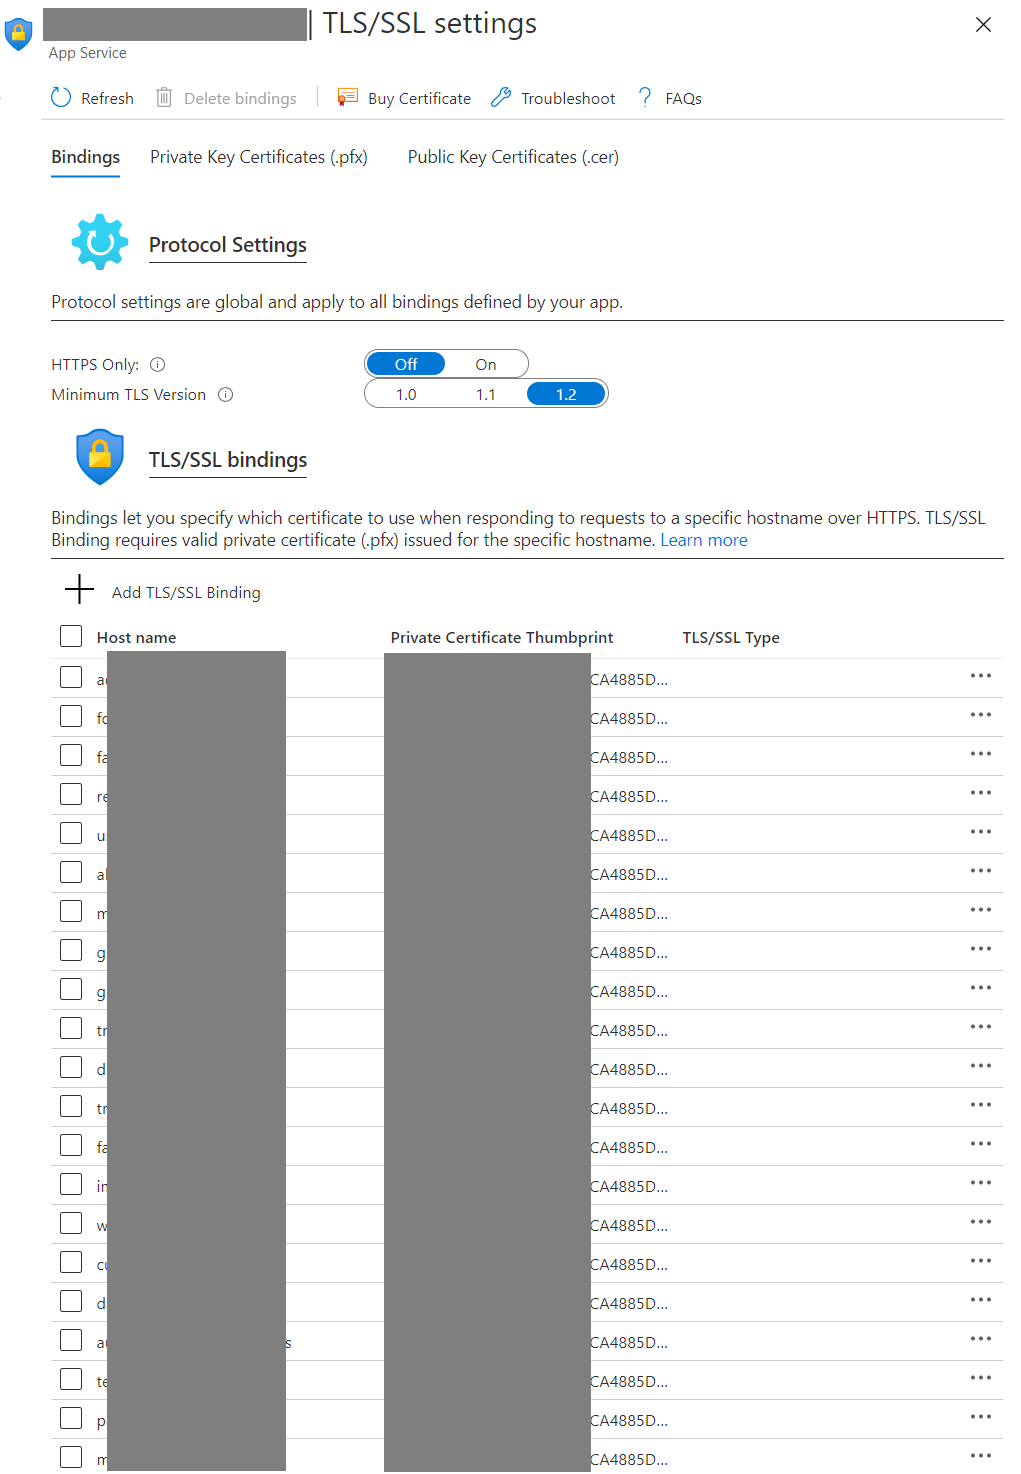
In this scenario updating the SSL is quite complicated because you need to upload the SSL certificate, and manually change all the SSL/TLS bindings for all the custom domains. The alternate option is to use Azure Key Vault. So instead of uploading the SSL certificate to the app service directly, you will be uploading the certificate to the Azure Key Vault and access the certificate from App service via Key Vault. Incase of SSL certificate renewal you will be able to upload the latest certificate to the KeyVault and it internally manage and provide the latest certificate to the app service.
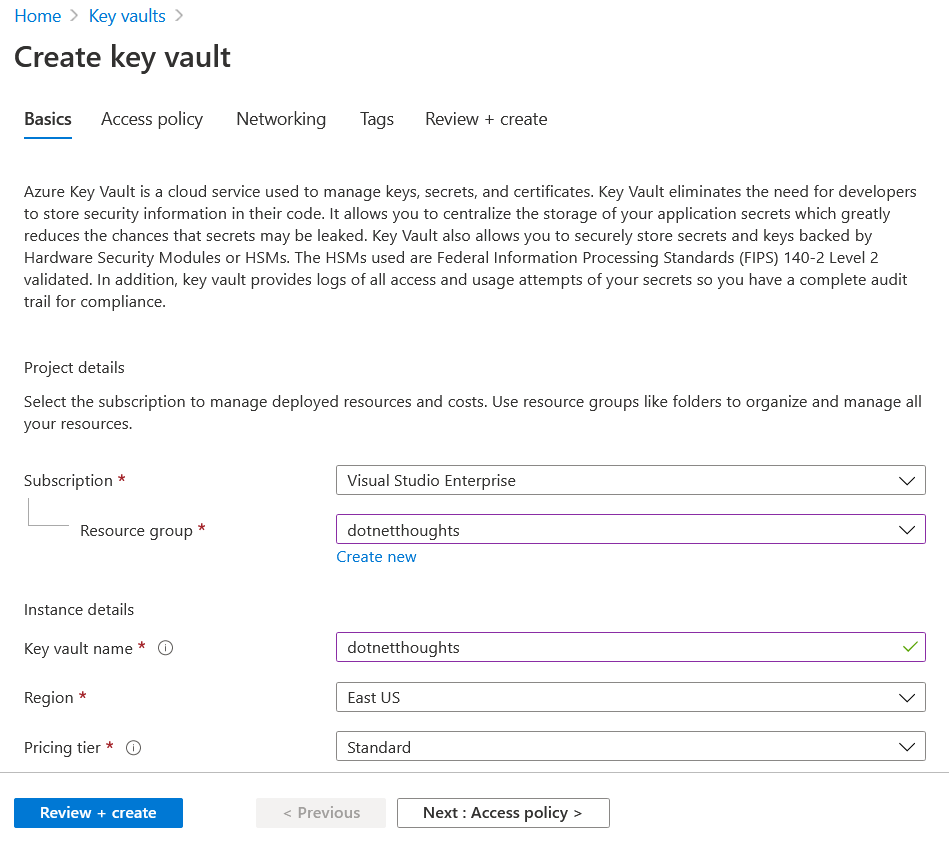
To use Azure Key Vault, you need to create an Azure Vault service. In Azure portal click on New Resource and search for Azure Key Vault. You need to select a resource group and provide a name of the Key Vault and click on the Review and Create button. The name should be unique and using this name you will be able to interact with key vault using REST API.
Once you create the Key Vault service, you can import the SSL certificate to Azure Key Vault with the help to import option. Similar to App Service you will be able to import PFX file in Azure Key vault as well. To get this option, you can choose the Certificates option from the Key Vault, and you can click on the Generate / Import, this will display a screen like this, after you choose Import from the list.
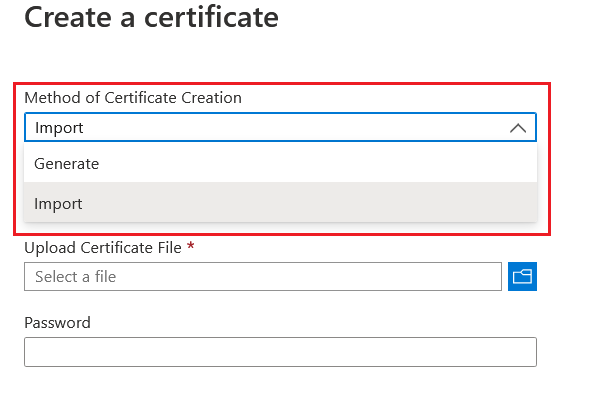
Similar to App Service you need to provide the PFX file password in this screen. Once it is imported, you may need to assign an identity to manage this SSL from Web App. First you need to enable Identity in the App Service.
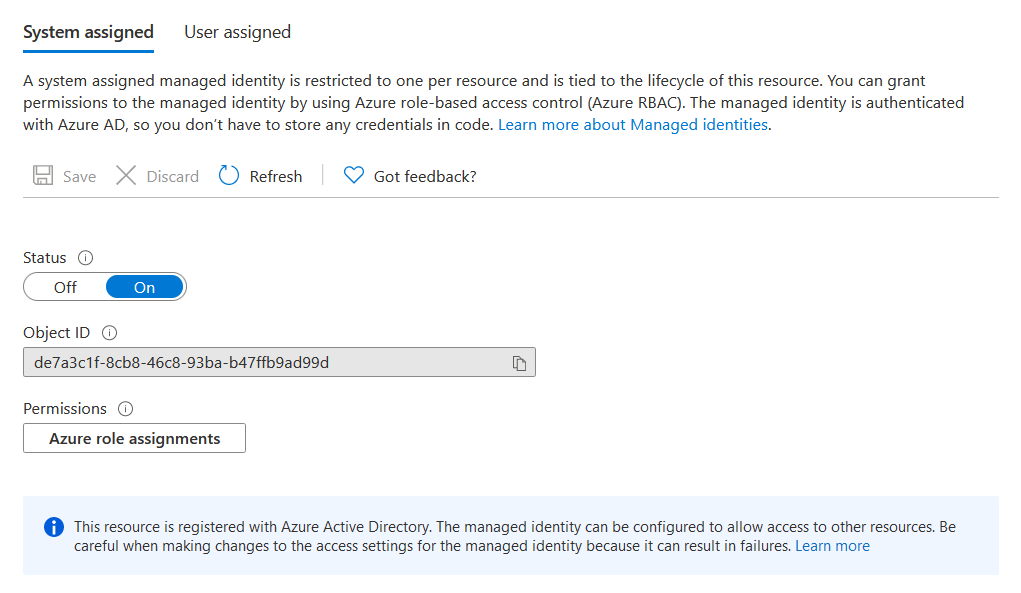
Once you enable App Service identity, you will be able to assign Azure Key Vault permissions to the identity. To do this, you need to select Access policies from the Azure Key Vault, and click on the Add Access Policy option.
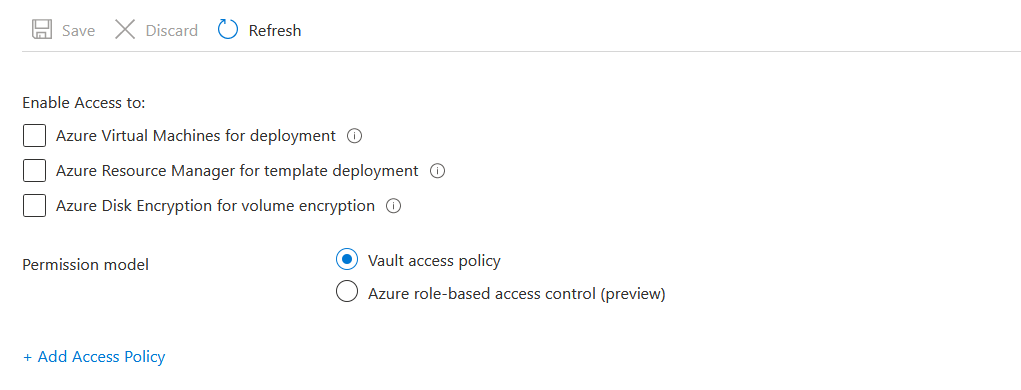
In the Add access policy option, choose Get option in Key permissions, Secret permissions, and Certificate permissions. And for the Select Principal, click on the None Selected. And search for the web application on which you have enabled the Identity.
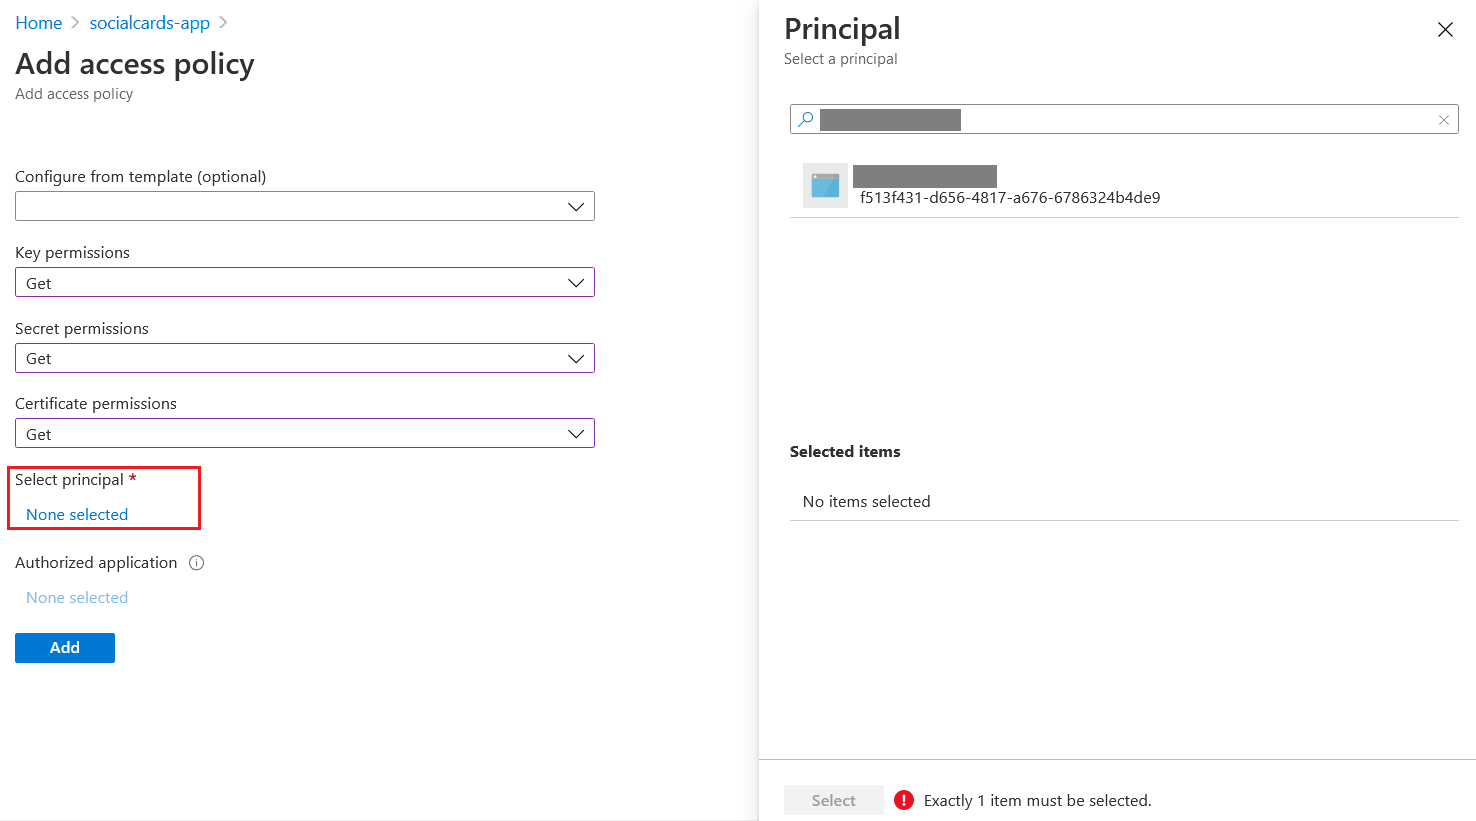
Once selected, click on the Select button and click on the Add button. After it got added to the Key Vault. In the Web Application, select TLS/SSL settings and select the Private key certificates (.pfx) option. And click on the Import Key Vault Certificate option.

Now you can bind the SSL certificate to the custom domains. As I mentioned earlier if you’re using SSL certificate from Azure Key Vault - renewal of SSL certificate can be automated. If you’re using SSL certificate from Azure Key Vault integrated provider the creation and renewal can be automated. You can use Azure Key Vault to store your application secrets and keys as well. And you will be able to manage it with Azure Key Vault Client SDKs.
Reference Links
- About Azure Key Vault
- Add a TLS/SSL certificate in Azure App Service - Import a certificate from Key Vault
- Assign a Key Vault access policy using the Azure portal
- Tutorial: Use a managed identity to connect Key Vault to an Azure web app in .NET
Happy Programming :)
Copyright © 2024 Anuraj. Blog content licensed under the Creative Commons CC BY 2.5 | Unless otherwise stated or granted, code samples licensed under the MIT license. This is a personal blog. The opinions expressed here represent my own and not those of my employer. Powered by Jekyll. Hosted with ❤ by GitHub