Setting up an Azure Virtual Machine as Azure DevOps build agent
May 12, 2022 by Anuraj
Azure DevOps
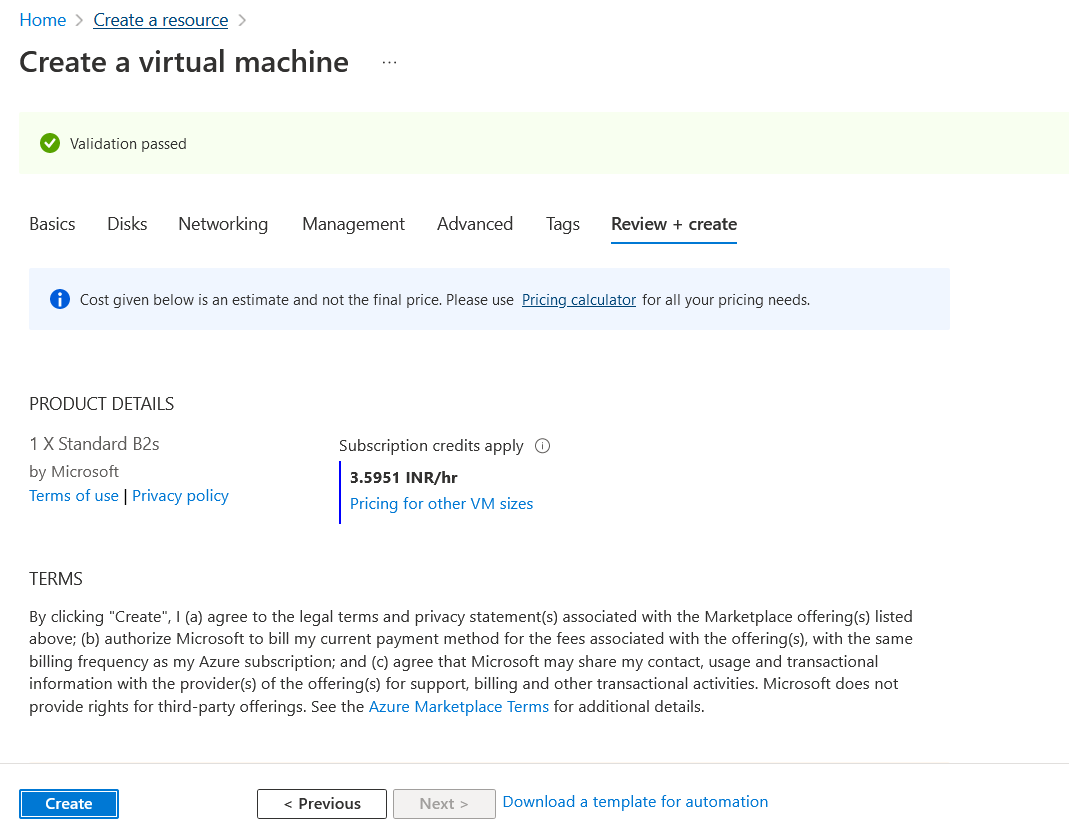
This post is about how we can setup as Azure Virtual Machine as Azure DevOps build agent. Recently I had to provision one virtual machine as Azure DevOps build agent. First we need to create an Azure Virtual machine. I created one with default configuration values.
Once it is created, I am doing a remote connection to the virtual machine using Remote Desktop connection. For my project, I am deploying .NET Framework, .NET Core and Database changes to Azure SQL Server. Since I am using a Windows Server, .NET Framework will be installed by default. Then we need to install .NET Core - We can download the latest version of .NET Core SDK from https://dot.net. Instead of using browser to download the SDK, I am using PowerShell - Invoke-WebRequest https://dotnet.microsoft.com/download/dotnet/scripts/v1/dotnet-install.ps1 -OutFile dotnet-install.ps1 - this will download the dotnet-install.ps1 to the virtual machine and we need to execute this.

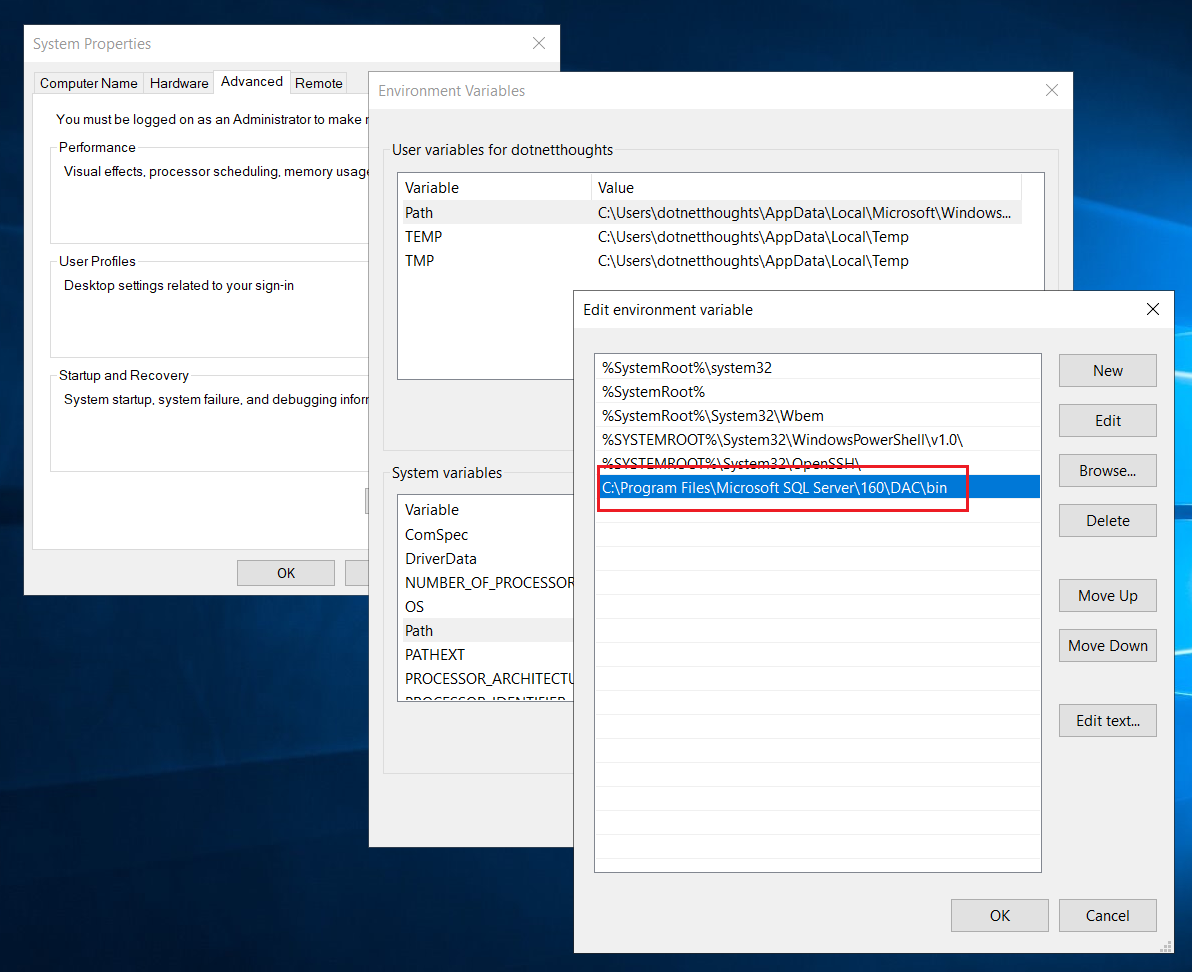
For the SQL Server deployment, we need to install the SQLPackage - in the build / deployment pipeline I am using the Azure SQL Database deployment task. We can download it from Download and install sqlpackage. Once it is downloaded and installed, we may need to modify the PATH variable. The SqlPackage binary will be available in C:\Program Files\Microsoft SQL Server\160\DAC\bin directory.
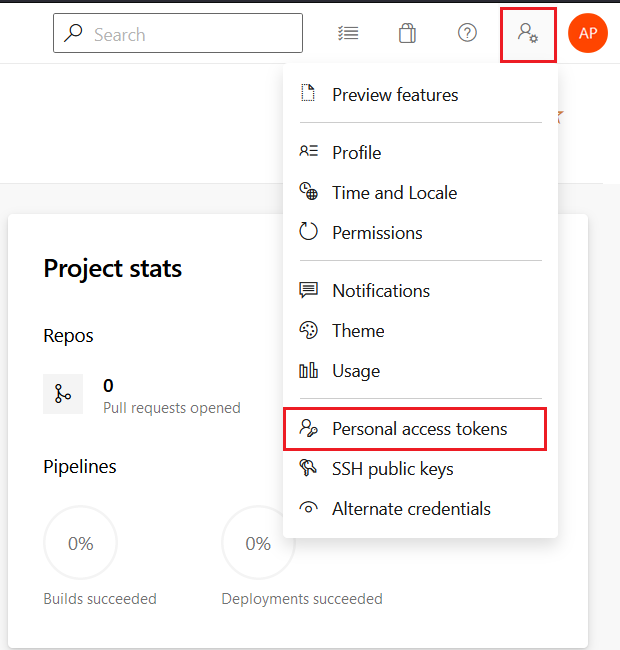
To verify whether the installation is proper, we can run sqlpackage command. Now we are ready with the build agent setup. Next we need to open the Azure DevOps portal, need to create a Personal Access Token (PAT). We can create PAT using User Settings > Personal Access Tokens
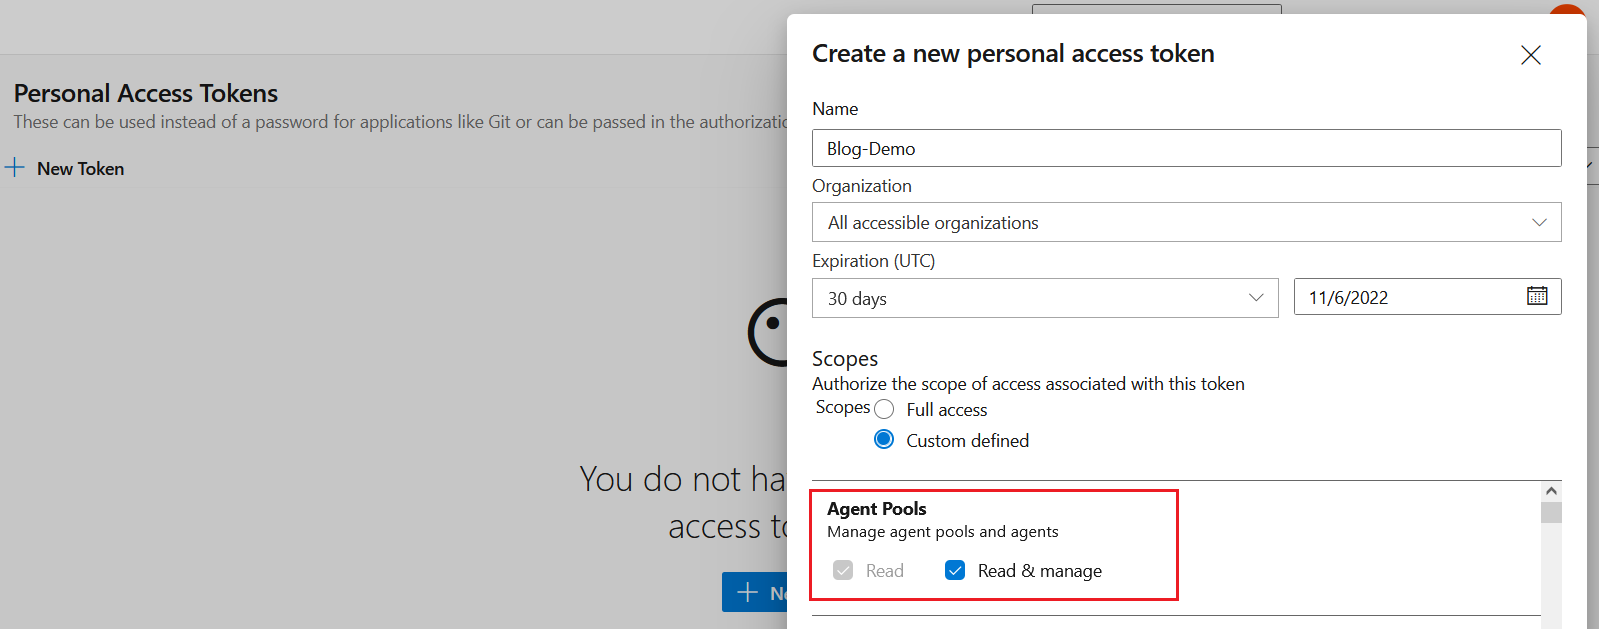
In the screen, click on the + New Token button. In the Create a new personal access token screen, click on show all scopes (28 more). From the scopes, select Read & manage option under the Agent Pools. We can choose the expiration date up to one year.
And click on the create, it will create a token and we need to copy and save it. This token is required while configuring the build agent. Next we need to install the build agent in the Azure Virtual Machine. To do this, open the project settings, click on the Agent Pools.
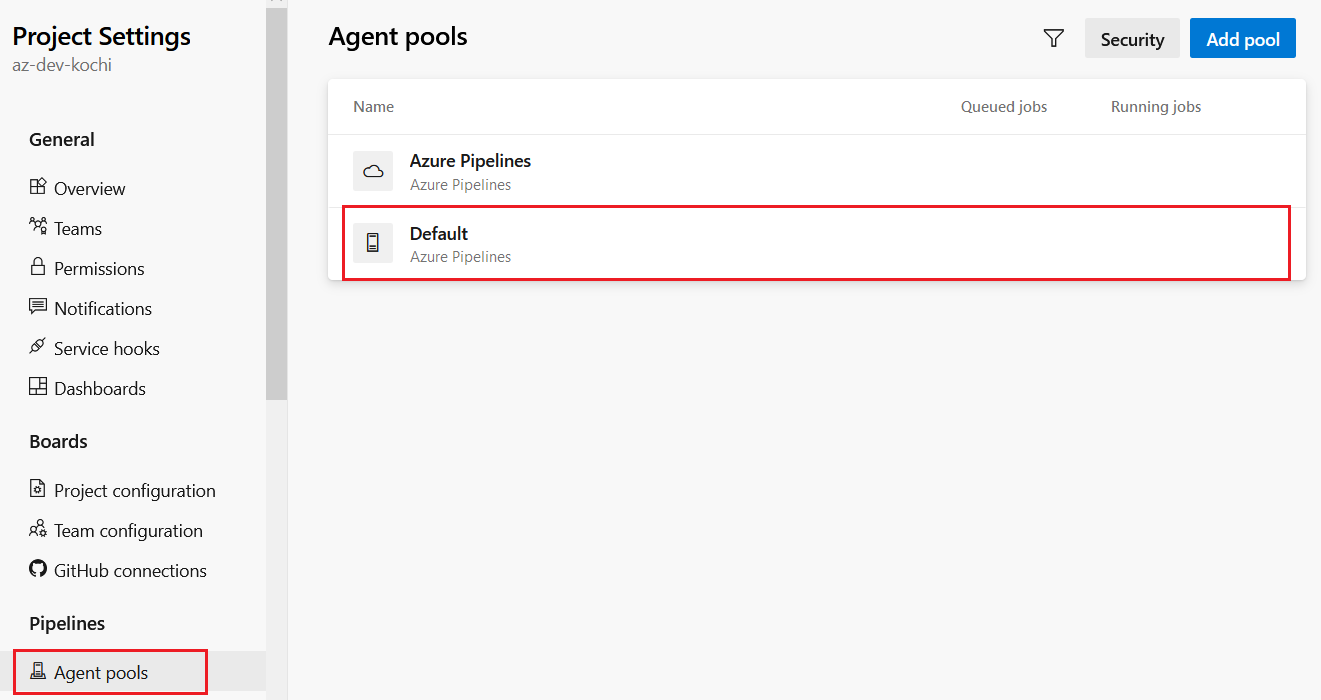
Click on Default Agent Pool, then in the next screen, click on New Agent.
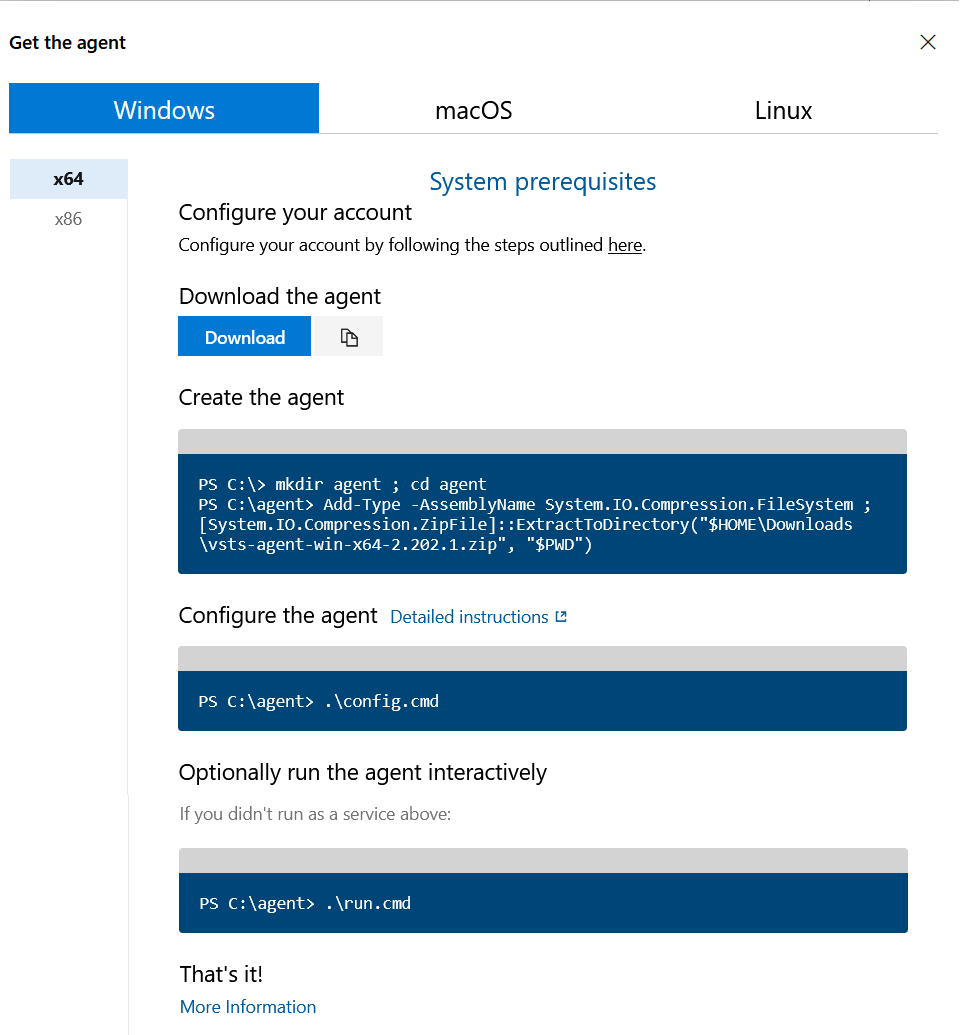
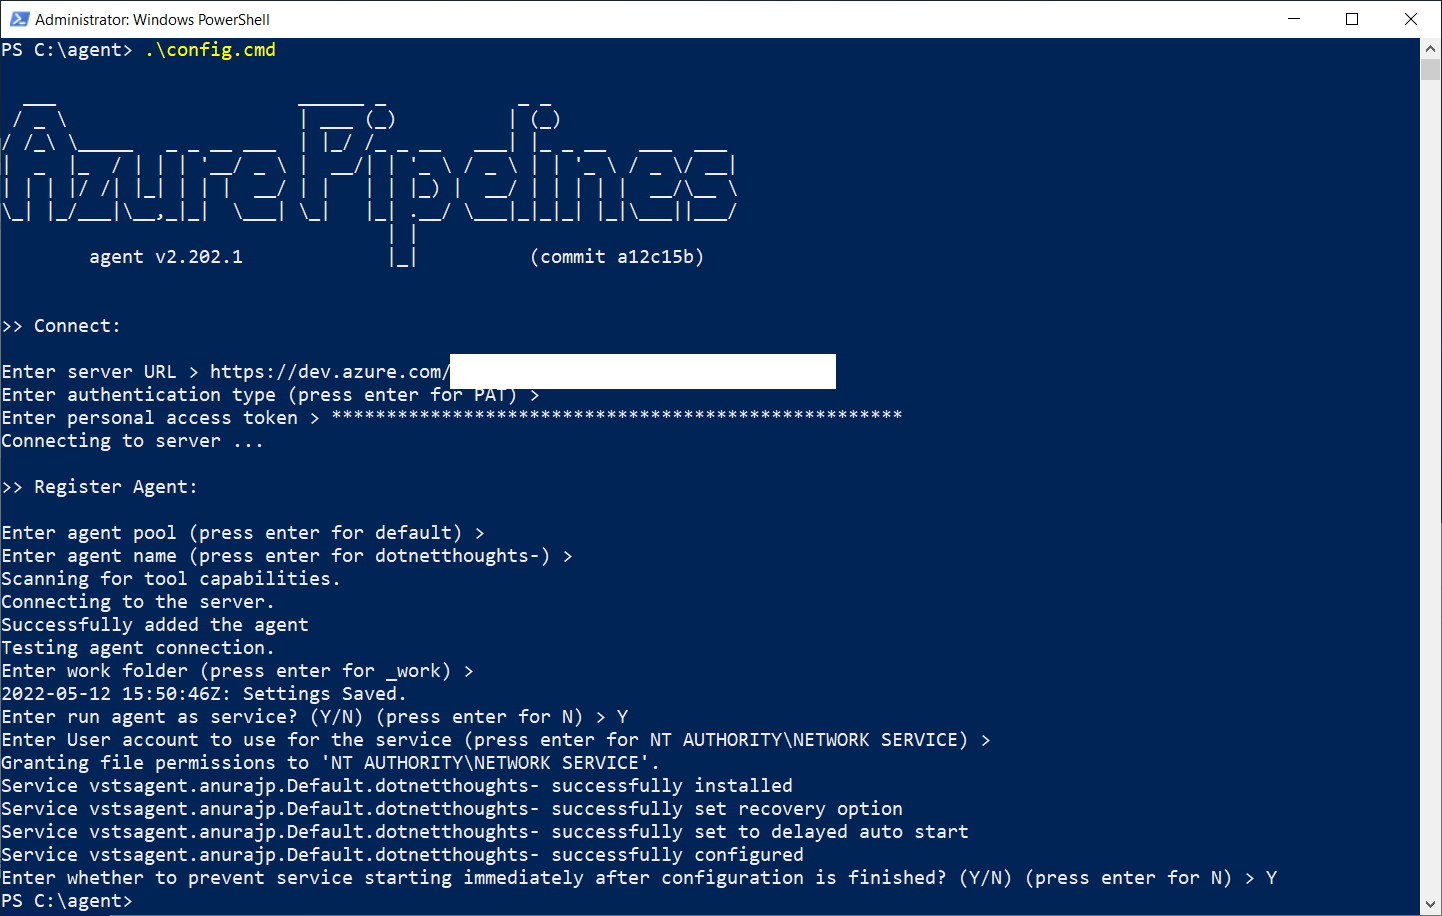
From the screen, first we need to download the agent. Once the zip file downloaded, extract it to C:\agent folder. Once it is extracted, we need to execute the config.bat first. Once it is executed, it will prompt for few configuration options, like Azure DevOps Server URL, Personal Access Token and some other configuration values.
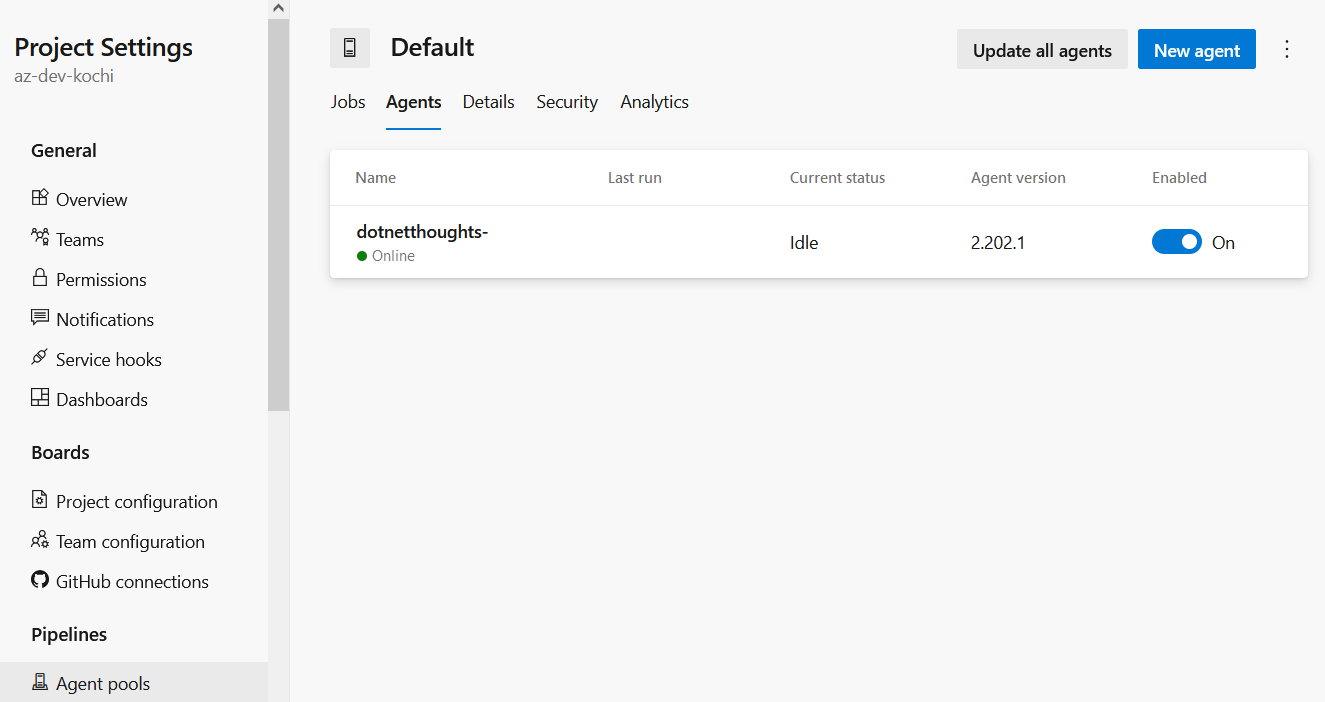
After the executing the configuration, if you’re configured it to run as service, check the Azure DevOps Portal >Project Settings >Agent Pools>Default Pool. Under the Agents tab, you will be able to see the Azure VM Agent.
Next in the Build Pipeline, we can choose this build agent for the build process - Default in our case.
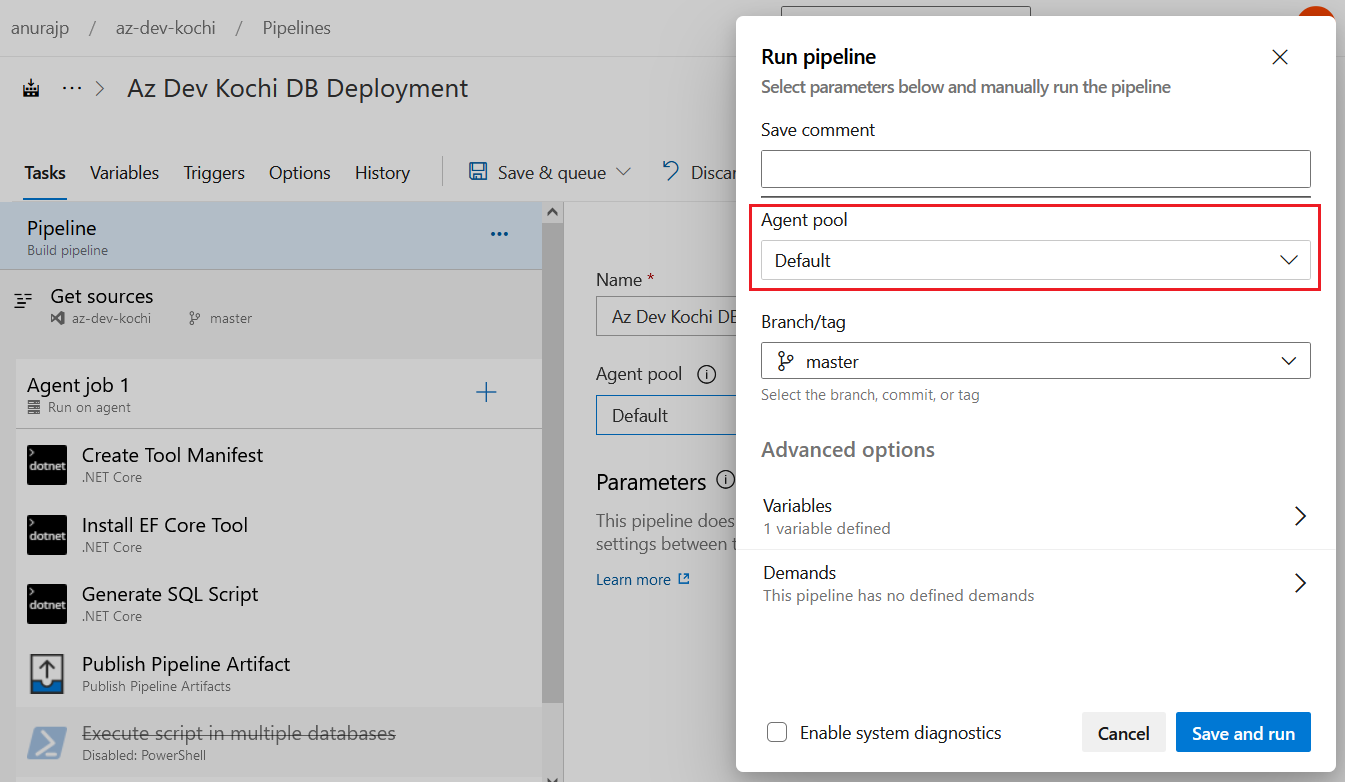
And save and queue the build pipeline. It will run the build or deploy the app. This way you will be able to configure an Azure VM as Azure DevOps build agent. If your build is failing due to missing capabilities - like SQL Deployment task is failing because of missing SqlPackage - it might be due the installation issue or the path is not updated properly. Let me know if you face any specific challenge in implementing Azure VM as build agent.
Happy Programming :)
Copyright © 2024 Anuraj. Blog content licensed under the Creative Commons CC BY 2.5 | Unless otherwise stated or granted, code samples licensed under the MIT license. This is a personal blog. The opinions expressed here represent my own and not those of my employer. Powered by Jekyll. Hosted with ❤ by GitHub