Uploading Files With ASP.NET Core and Angular
March 04, 2021 by Anuraj
Angular AspNetCore
This article discuss about uploading files from an Angular application to ASP.NET Core backend. First you need to create an ASP.NET Core Angular project. Once it is done, you need to create an angular component. And then you can modify the backend implementation.
Creating an Angular component
To create an angular component, you need to run the following command - ng generate component fileupload --skip-import --skip-tests -s. Next you need to modify the typescript file - fileupload.component.ts like this.
upload(files) {
  if (files.length === 0)
    return;

  const formData = new FormData();

  for (const file of files) {
    formData.append(file.name, file);
  }

  const uploadReq = new HttpRequest('POST', this.baseUrl + 'FileManagement/upload', formData, {
    reportProgress: true,
  });

  this.http.request(uploadReq).subscribe(event => {
    if (event.type === HttpEventType.UploadProgress) {
      this.progress = Math.round(100 * event.loaded / event.total);
    };
  });
}
In the above code, when a user browse files, the on change event will be fired. And then upload the file with httpclient using FormData object. And in the fileupload.component.html you need to modify and include HTML like this.
<div class="form-group">
  <label for="picture">Picture</label>
  <div class="custom-file">
    <input #file type="file" id="customFile" accept=".jpg,.png,.gif" multiple (change)="upload(file.files)" />
    <label class="custom-file-label" for="customFile">Choose file</label>
  </div>
</div>
<div class="progress">
  <div class="progress-bar" role="progressbar" [style.width.%]="progress"></div>
</div>
In the next section you will learn how to read and save in ASP.NET Core.
Implementing the backend
In ASP.NET Core you can create a controller, and create an action method. In the action method, you can use Request.Form.Files to read the uploaded files with Form Data from Angular client.
[HttpPost]
[Route("upload")]
public async Task<IActionResult> Upload()
{
    var files = Request.Form.Files;
    foreach (var file in files)
    {
        var blobContainerClient = new BlobContainerClient("UseDevelopmentStorage=true","images");
        blobContainerClient.CreateIfNotExists();
        var containerClient = blobContainerClient.GetBlobClient(file.FileName);
        var blobHttpHeader = new BlobHttpHeaders
        {
            ContentType = file.ContentType
        };
        await containerClient.UploadAsync(file.OpenReadStream(), blobHttpHeader);
    }

    return Ok();
}
The above code is using the Request.Form.Files options. You can also use the Request.ReadFormAsync() method which helps you to read the files asynchronously, here is the code for reading the file asynchronously with the help of Request.ReadFormAsync() method.
[HttpPost]
[Route("upload")]
public async Task<IActionResult> Upload()
{
    var formCollection = await Request.ReadFormAsync();
    var files = formCollection.Files;
    foreach (var file in files)
    {
        var blobContainerClient = new BlobContainerClient("UseDevelopmentStorage=true", "images");
        blobContainerClient.CreateIfNotExists();
        var containerClient = blobContainerClient.GetBlobClient(file.FileName);
        var blobHttpHeader = new BlobHttpHeaders
        {
            ContentType = file.ContentType
        };
        await containerClient.UploadAsync(file.OpenReadStream(), blobHttpHeader);
    }

    return Ok();
}
ASP.NET Core also supports File Upload with the help of form binding. Here is the implementation in the ASP.NET Core controller.
[HttpPost]
[Route("createprofile")]
public async Task<IActionResult> CreateProfile([FromForm] Profile profile)
{
    if (ModelState.IsValid)
    {
        var tempProfile = profile;
        return Ok();
    }

    return BadRequest();
}
And here is the Profile class.
public class Profile
{
    [Required]
    public string Name { get; set; }
    [Required]
    public string Email { get; set; }
    [Required]
    public IFormFile Picture { get; set; }
}
And from Angular client you can use the Angular forms. Here is the Angular code which upload and submit the data to server.
const formData = new FormData();
for (const key of Object.keys(this.profileForm.value)) {
  const value = this.profileForm.value[key];
  formData.append(key, value);
}
this.http.post(this.baseUrl + 'FileManagement/createprofile', formData, {
  reportProgress: true,
  observe: 'events'
}).subscribe(event => {
  if (event.type === HttpEventType.UploadProgress) {
    this.progress = Math.round((100 * event.loaded) / event.total);
  }
  if (event.type === HttpEventType.Response) {
    console.log(event.body);
    this.profileForm.reset();
  }
});
And there is one specific code block which helps to populate the File value to Angular form control. Here is the code, which triggered on the change event of File Upload control.
onFileChanged(event) {
  if (event.target.files.length > 0) {
    const file = event.target.files[0];
    this.labelImport.nativeElement.innerText = file.name;
    this.profileForm.patchValue({
      picture: file,
    });
  }
}
And here is the HTML code for the Form
<form class="needs-validation" novalidate [formGroup]="profileForm" (ngSubmit)="onSubmit()">
  <div class="form-group">
    <label for="name">Name</label>
    <input type="text" formControlName="name" class="form-control" id="name"
           [ngClass]="{ 'is-invalid': form.name.invalid && (form.name.dirty || form.name.touched) }">
    <div class="invalid-feedback" *ngIf="form.name.touched && form.name.invalid">
      <div *ngIf="form.name.errors.required">Name is required.</div>
      <div *ngIf="form.name.errors.minlength">Name should be 2 character.</div>
    </div>
  </div>
  <div class="form-group">
    <label for="email">Email</label>
    <input type="email" formControlName="email" class="form-control" id="email"
           [ngClass]="{ 'is-invalid': form.email.invalid && (form.email.dirty || form.email.touched) }">
    <div class="invalid-feedback" *ngIf="form.email.touched && form.email.invalid">
      <div *ngIf="form.email.errors.required">Email is required.</div>
      <div *ngIf="form.email.errors.email">Invalid email.</div>
    </div>
  </div>
  <div class="form-group">
    <label for="picture">Picture</label>
    <div class="custom-file">
      <input type="file" class="custom-file-input" id="customFile"
             (change)="onFileChanged($event)" accept=".jpg,.png,.gif,.pdf,.xls,.xlsx,.doc,.docx,.ppt,.pptx">
      <label class="custom-file-label" #labelImport for="customFile">Choose file</label>
    </div>
    <div class="invalid-feedback" *ngIf="form.picture.touched && form.picture.invalid">
      <div *ngIf="form.picture.errors.required">Picture is required.</div>
    </div>
  </div>
  <input type="submit" value="Submit" [disabled]="profileForm.invalid" class="btn btn-primary" />
</form>
Here is the screenshot of the application running.
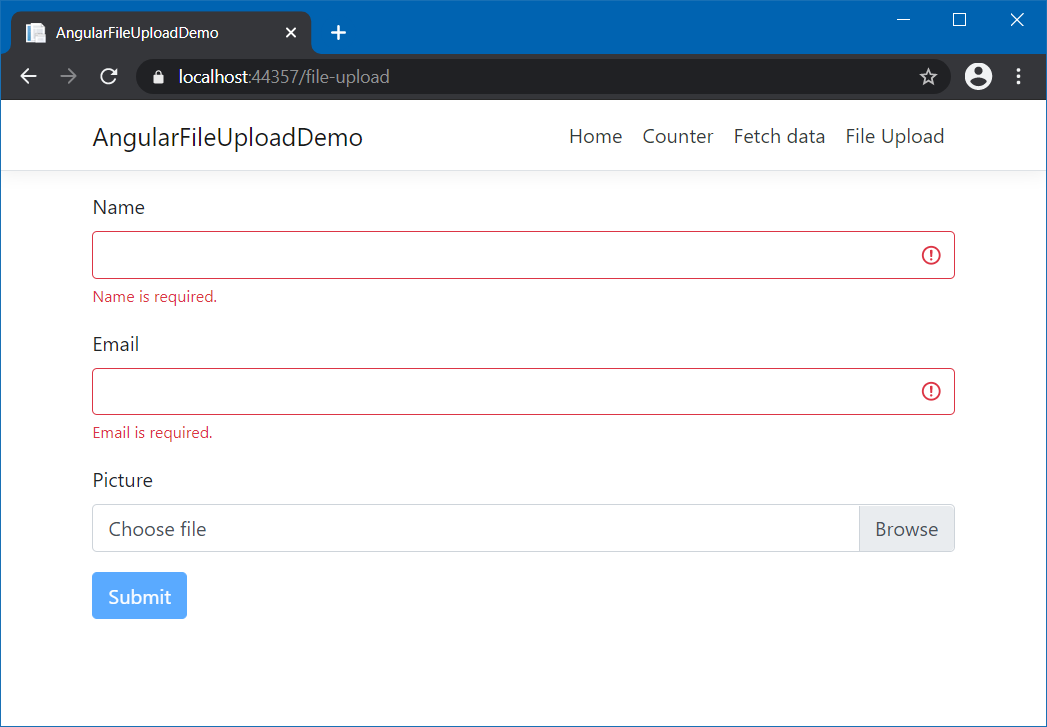
This way you can implement File Upload from Angular to ASP.NET Core and how to store them in Azure Blob storage. You can use the model binding implementation if you are planning to use upload a file along with other form fields like name or email.
Happy Programming :)
Copyright © 2024 Anuraj. Blog content licensed under the Creative Commons CC BY 2.5 | Unless otherwise stated or granted, code samples licensed under the MIT license. This is a personal blog. The opinions expressed here represent my own and not those of my employer. Powered by Jekyll. Hosted with ❤ by GitHub