How to do OAuth2 Authorization in ASP.NET Core for Swagger UI using Swashbuckle
December 05, 2020 by Anuraj
OpenAPI AspNetCore OAuth2
This post is about documenting OAuth 2 protected ASP.NET Core Web API using Swashbuckle. Last post - Securing Your Web API Using Azure Active Directory I wrote about securing web api with Azure Active Directory. In ASP.NET Core Web API, Open API will be enabled by default. To enable OAuth2 authentication, first we need to write the following code. I this code we are adding a SecurityDefinition with OAuth2 type. And also configuring Authentication URL, Token URL and Scopes.
c.AddSecurityDefinition("oauth2", new OpenApiSecurityScheme
{
Type = SecuritySchemeType.OAuth2,
Flows = new OpenApiOAuthFlows()
{
Implicit = new OpenApiOAuthFlow()
{
AuthorizationUrl = new Uri("https://login.microsoftonline.com/7493ef9e-db24-45d8-91b5-9c36018d6d52/oauth2/v2.0/authorize"),
TokenUrl = new Uri("https://login.microsoftonline.com/7493ef9e-db24-45d8-91b5-9c36018d6d52/oauth2/v2.0/token"),
Scopes = new Dictionary<string, string>
{
{ "api://29a02307-5a1b-460c-85ba-9e9abb75e48d/Read.WeatherForecast", "Reads the Weather forecast" }
}
}
}
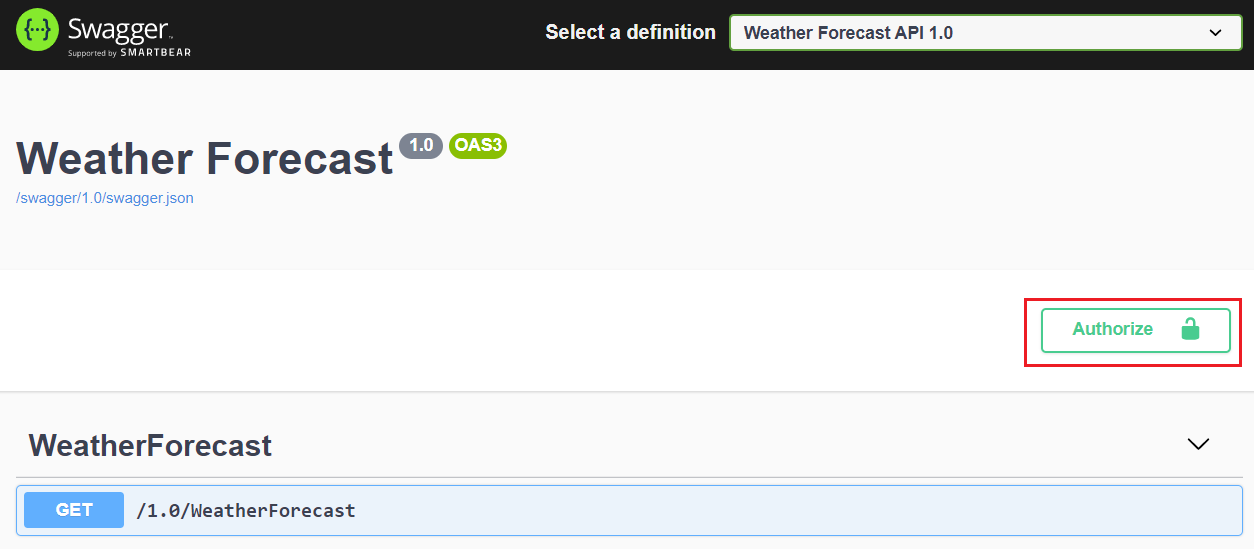
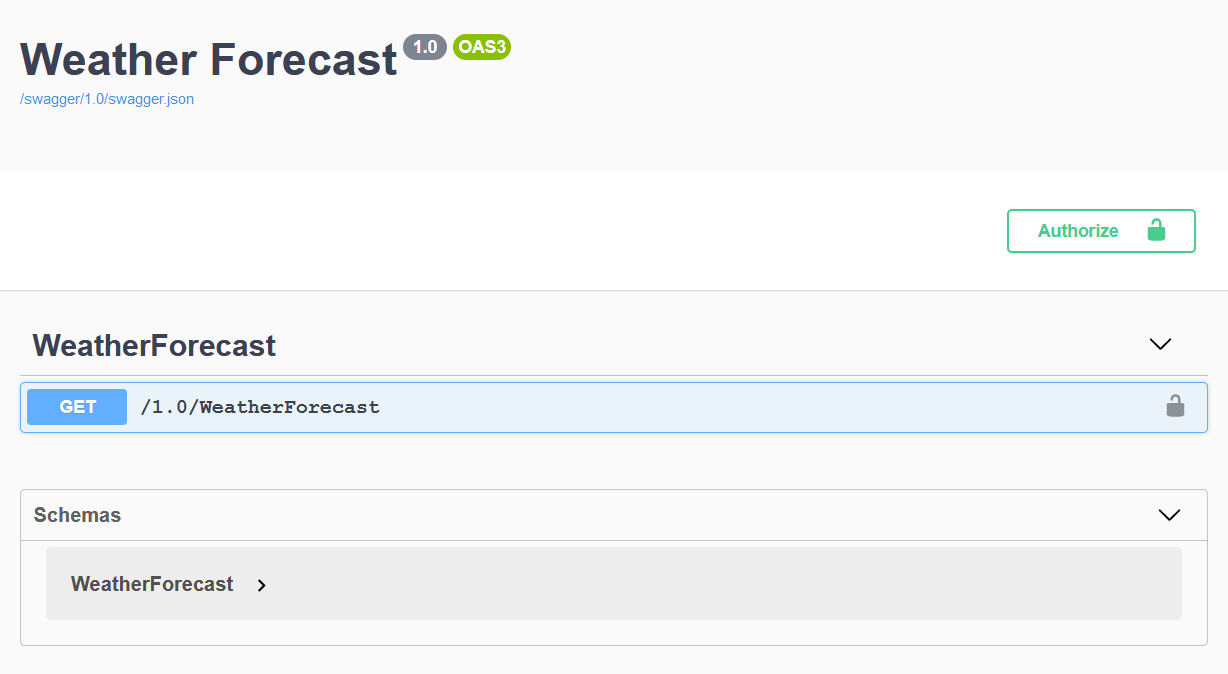
});This will display the Authorize button, like this.
Click on the Authorize button will display Available authorizations, like the following.
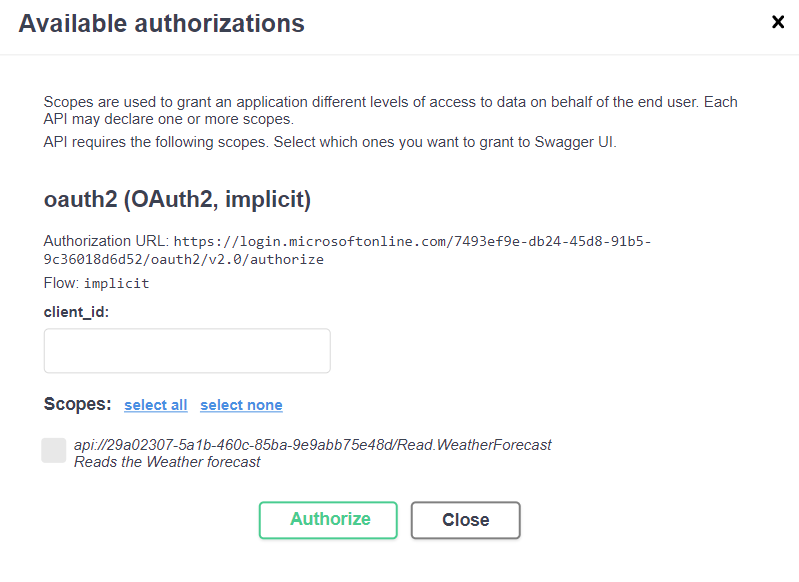
You need to provide the Client Id and select the scopes. Once you complete it click on Authorize button, which will open the Microsoft AD authentication page, but you might get an error like this - AADSTS700051: response_type 'token' is not enabled for the application.
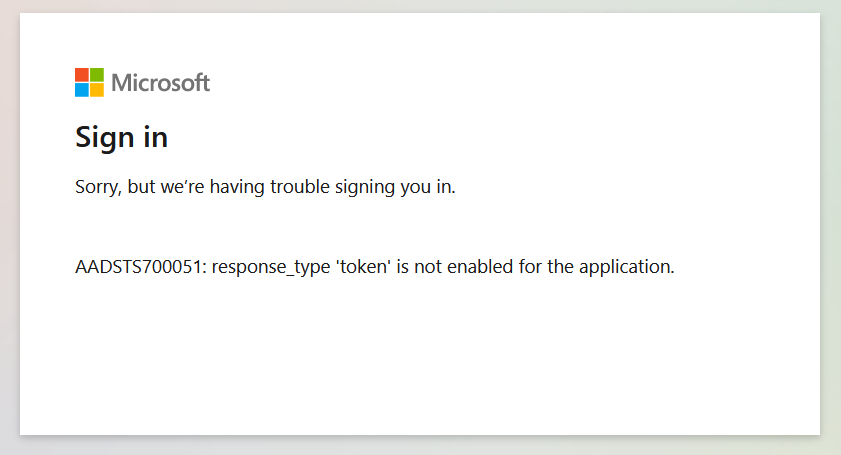
It is because Access tokens and ID tokens is not enabled. You can enable it from Authentication menu.
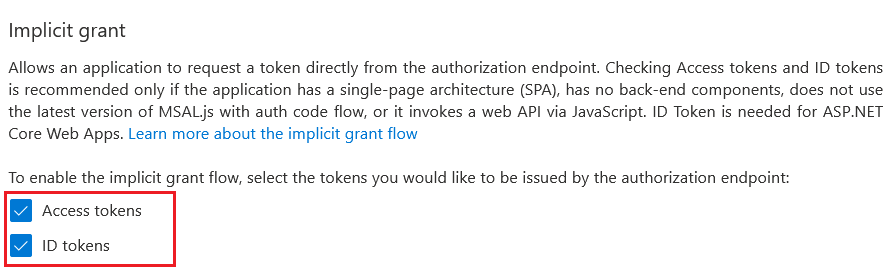
Select Access tokens and ID Tokens and save the changes. Next you will get another error - because we didn’t added the callback URL. We need to add the following URL. - https://localhost:5001/oauth2-redirect.html - if you’re using Visual Studio instead of 5001 use the port. You can add it under Authentication, Web and Redirect URIs. And save it. Next click on Authorize, you can login, but it we won’t get the proper token. It is because we don’t have Client Secret configured and we didn’t configured the authentication for controllers and action methods.
To enable this you need add the following code.
c.AddSecurityRequirement(new OpenApiSecurityRequirement()
{
    {
        new OpenApiSecurityScheme
        {
            Reference = new OpenApiReference
            {
                Type = ReferenceType.SecurityScheme,
                Id = "oauth2"
            },
            Scheme = "oauth2",
            Name = "oauth2",
            In = ParameterLocation.Header
        },
        new List<string>()
    }
});
Which will show the lock sign near action method, clicking on them show the same dialog.
And finally add the following code in UseSwaggerUI() method.
app.UseSwaggerUI(c =>
{
    c.SwaggerEndpoint("/swagger/1.0/swagger.json", "Weather Forecast API 1.0");
    c.RoutePrefix = string.Empty;
    c.OAuthClientId("ff11294f-2cc9-18d4-bdf6-6cf26670316a");
    c.OAuthClientSecret("hXUedE-fItzZi8-7Mua4v9MxiTGx2--R_B");
    c.OAuthUseBasicAuthenticationWithAccessCodeGrant();
});
Now we have completed the configuration. Run the application and you will be able to see the authentication icons on the UI and clicking on will show the authentication dialog with client Id pre populated. Click on Authorize, which will open the Microsoft Sign in dialog. First you need to provide the email and next password. And finally it will show the permission dialog like this.

Click on the Accept button and continue. It will authenticate and returns a token. Then the open lock symbol changed to closed lock symbol.
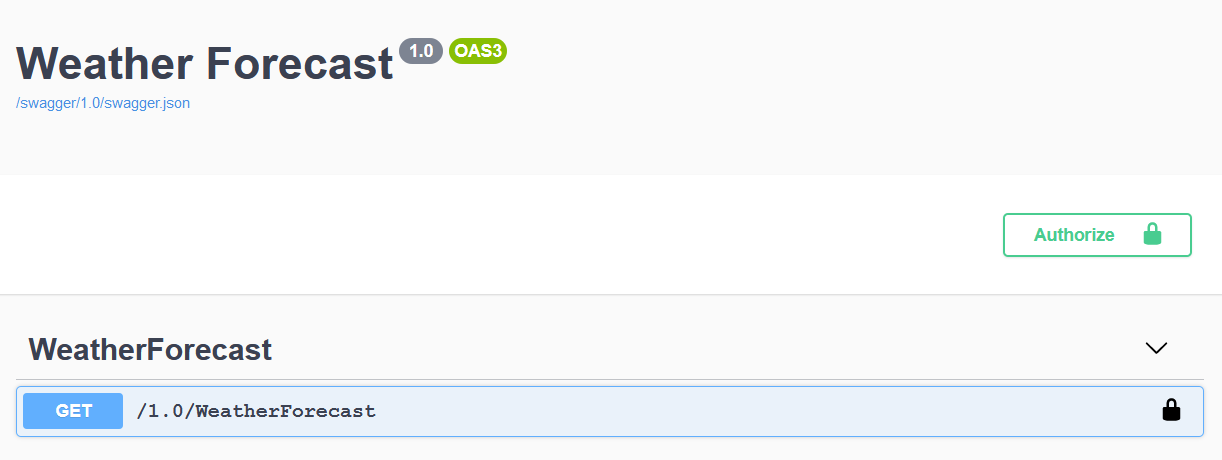
Clicking on the symbol again will show the authenticated dialog.
So we have completed the OAuth2 integrated to ASP.NET Core Web API. Similar way you can integrate other authentication protocols.
Happy Programming :)
Copyright © 2024 Anuraj. Blog content licensed under the Creative Commons CC BY 2.5 | Unless otherwise stated or granted, code samples licensed under the MIT license. This is a personal blog. The opinions expressed here represent my own and not those of my employer. Powered by Jekyll. Hosted with ❤ by GitHub